Miter gauges are accessories used with large, bench-mounted power tools. A miter gauge guides material as it is introduced to the tool at a specified angle.
Contents
What is a Miter Gauge?
A miter gauge is a device that is used on table saws and bands saws to hold the workpiece an a defined angle while cutting. The user will hold the wood up against the miter gauge, and push the work piece through the saw. The gauge runs along the worktable in a track system, allowing the cut to be made with precision.

Uses
Miter gauges are generally used to make crosscuts on table saws. Crosscuts slice across the grain and are used to trim and shape stock.
A miter gauge can also be used when working with a band saw or a belt sander. They are typically used to guide wood for cutting and shaping.
Miter Gauge Parts
The three parts that make up a miter gauge are the fence, the miter bar, and the miter head. Miter gauges are only compatible with tools that have a built-in miter slot. Even basic, small shop table saws now come equipped with a miter slot, although some older models may not have this capability.
Miter Bar
To use the best miter gauge, it must be attached to the table of the tool you are using. The miter bar connects the miter gauge to the tool table by sliding into the miter slot of your machine.
Miter Bar/Slot Shape
There are two designs typically used for miter slots. One is shaped like an upside-down T, while the other is simply a rectangular-shaped, flat-bottomed channel. In the first instance, the miter bar slides into the slot from the table’s edge. In the second style, the miter bar can be dropped in from above the table.

Miter Bar/Slot Size
The size of the miter slot determines what accessories can be used on the machine. While a miter gauge is the most common of these accessories, the slot can also be used to attach various jigs and fixtures.
Before purchasing a miter gauge or other accessory, make sure that the miter bar is compatible with the slot on your machine. The size and shape of the miter slot is not standardized, and can vary significantly by manufacturer.
Miter Gauge Fence
The fence is a straightedge that sits on top of your tool table and connects to the miter bar underneath. The workpiece is placed against the fence before being introduced to the blade.
Miter Head
The miter head is the pivot point where the fence and the miter bar meet. By swiveling the miter head from side to side, you can change the angle at which the fence (and the workpiece resting against it) is presented to the blade.
Miter heads are usually adjustable from -45 degrees to 45 degrees.
Miter Gauge vs Rip Fence
Both miter gauges and rip fences generally come standard on table saws. They may seem similar, but they serve different purposes.
The rip fence runs alongside the blade and is used when ripping wood. Rip cuts are lengthwise cuts in wood, along the grain, and are used to change the width of boards and planks.
A rip fence is adjustable and can be moved closer or further from the blade. The angle of the rip fence to the blade never changes. Use the rip fence to ensure your workpiece stays a consistent distance from the cutting surface when making rip cuts.
Miter gauges are only used for crosscuts, when the blade is cutting across the grain. A miter gauge is never parallel to the blade. Miter gauges can be set to hold your workpiece perpendicular to the blade, or at a variety of positive and negative angles to achieve angled cuts.

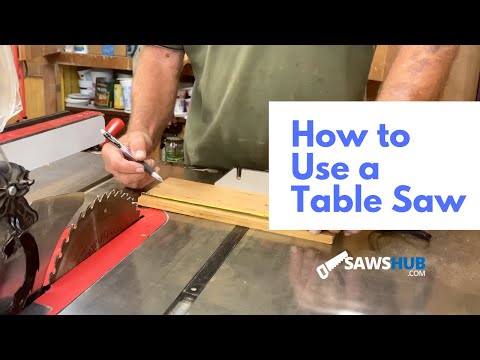
How to Use a Miter Gauge on a Table Saw
Miter gauges can be used on your table saw to achieve angled cuts with a non-tilting blade.
- Identify the miter slot. The shape, size, location, and number of miter slots changes based on which model you are working with. The distance between the miter and the blade is also not standardized. Some manufacturers ensure that only same-brand products can be used on their table saws.
- Insert the miter bar. The rectangular or T-shaped miter bar should slide into the miter slot while the miter fence rides on top of the table.
- Test mobility. The miter gauge should move smoothly and easily across the table.
- Set your miter. Unlock the miter head. Use the markings on the dial to adjust the miter head and fence to your desired angle. Relock the miter head.
- Check your work. Visualize the cut you are about to make, the angle at which the wood will meet the blade, and what the resulting shape/angle will be.
- Position your workpiece. Whatever you’re cutting should be face-up or face down on the table saw and flush against the miter fence.
- Position your hands. Stand properly, and arrange your grip so that you can guide the fence and the workpiece across the table without crossing the path of the blade.
- Put on protective safety equipment. Eye protection is essential whenever you use the table saw, and hearing protection should also be used.
- Make the cut. Turn the table saw on. Slide the fence and workpiece across the table in a smooth, steady motion, allowing the blade to enter the wood from the edge. Continue until the workpiece clears the blade. Turn off the table saw and wait for the blade to stop spinning before you retrieve your work and discard the waste.
Conclusion
A miter gauge is a useful woodworking accessory often used in conjunction with a table saw. Miter gauges can be adjusted to a variety of angles and are most often used to make angled cross cuts in wood.