It’s one of the unfortunate realities of pre-cut lumber – you’re not always going to get a straight or square edge. The good news is that you can use your table saw to easily cut straight edges, and get perfectly straight edges for your DIY project.
Contents
What Causes Wood to Warp?
Moisture is the #1 culprit of wood warping – it causes wood to expand, and then as the board dries out it shrinks back down into a different shape. Distortion actually occurs when different areas dry unevenly, and that’s when you see the bowing, crooking, and twisting effects.
Many boards come out of the mill in tip-top shape, but Mother Nature and the stresses of shipping, stacking, and handling take their insidious toll. When the boards put the “rough” in rough-cut to begin with, the effects are even more pronounced.
With that being said, there’s not much that you can do to control warping between the lumber mill and your supplier. If you’re going to be storing wood at your project site for any length of time, however, taking steps to keep your wood as dry and flat as possible is going to prevent things from getting any worse.
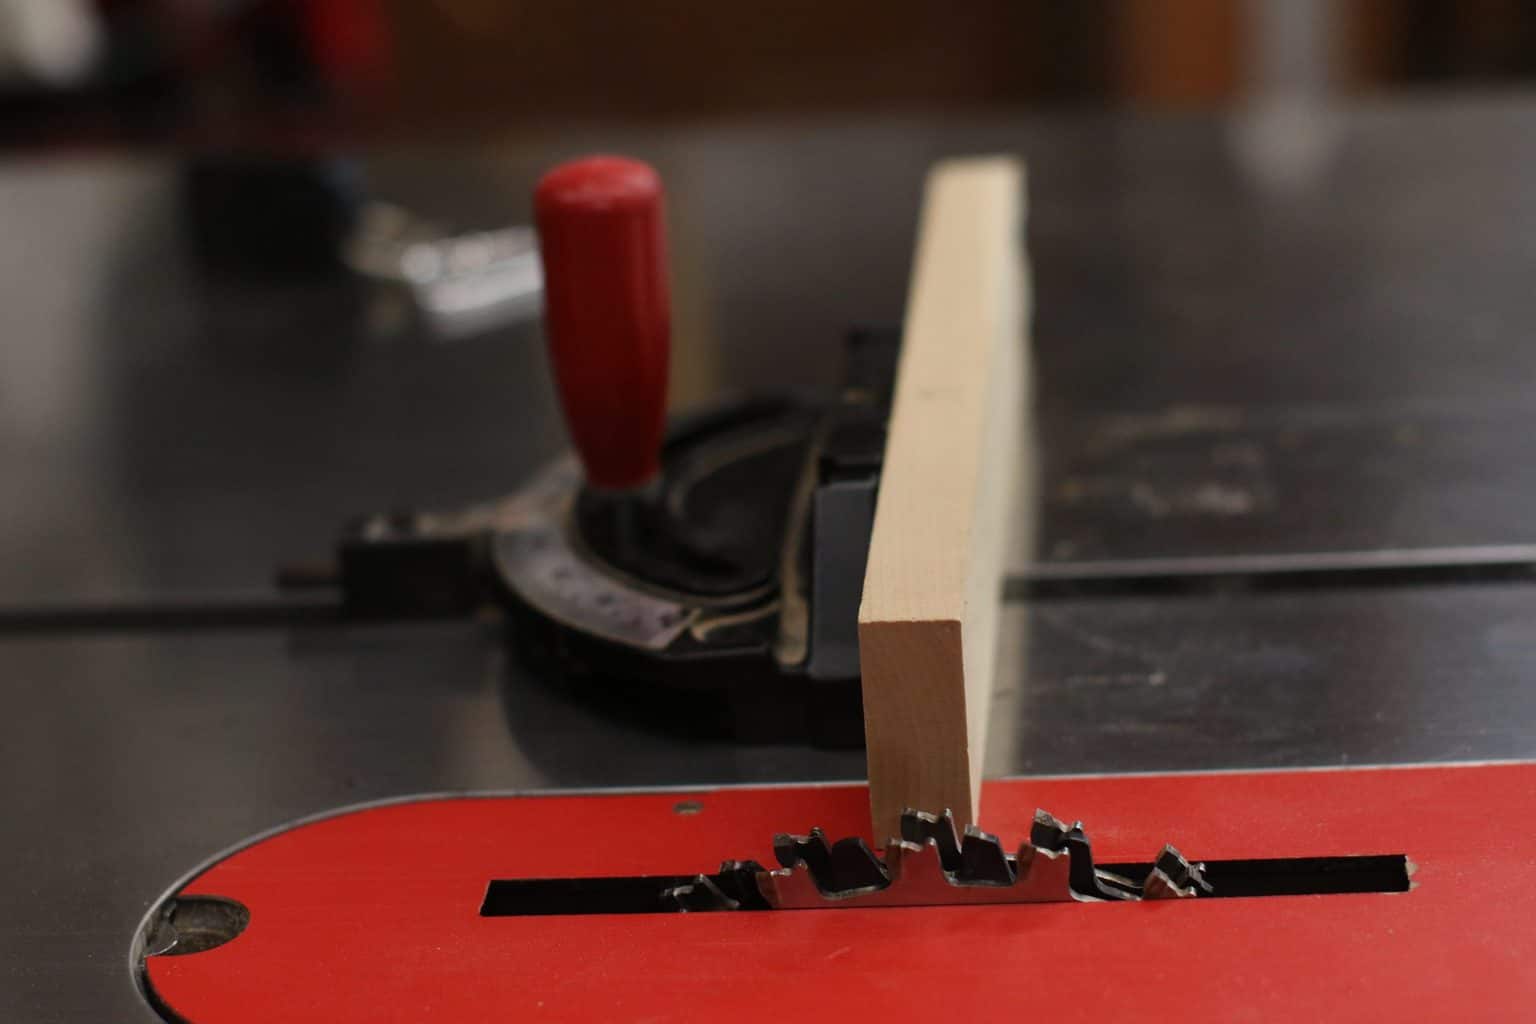
How to Cut a Straight Edge With a Table Saw
You might be wondering why you need to use a table saw for this project when there are other power tools within easy reach. The answer: it all comes down to accuracy.
You’re not going to achieve the same level of stability or precision with a skill saw, and a jigsaw is out of the question for getting that perfectly straight edge. You need to use a good table saw for this situation
Use a Jig with Your Table Saw
The table saw’s fence—which normally helps you make those precise cuts—is all but useless with a warped board. The wood’s warp prevents it from making close-enough contact with the fence, and it’s almost impossible to cut straight without a good starting edge. That’s where a jig comes in.
A jig is the middle-man between your straight fence and your warped board – it makes them talk to each other. Depending on what kind of boards you are trying to cut and how many, there are multiple different types of jigs that you can use:
- An outrigger
- A guide jig
- A clamp jig
- A store-bought jig
Everyone has an opinion about which jig is best, but let’s take a closer look at their individual pros and cons.
The Outrigger
The simplest to make, this jig is a down-and-dirty hack for when you have a stubborn piece of wood that needs re-edging. All you need is a straight 1×2 board (or any thin piece of scrap from projects past), and a couple of screws.

Place the 1×2 lengthwise on one edge of the wood, making sure it hangs over a bit. Screw it down as close to the other edge as you can, and you now have a straight guide to place against your fence.
Once you’ve cut the first side, you can just as easily turn the board and lop off the outrigger when you straighten your other edge.
The Pros:
- Quick fix
- Easy to make
- Inexpensive
- Can use with short or longer boards
- Accurate
The Cons:
- Single-use
- Not practical for straightening more than one board
- There’s a risk of hitting the screws when you go to saw the outrigger off
The Guide Jig
Next up is a jig that works similar to the outrigger but is a more permanent fixture. To build it, screw a straight 1×2 board to the edge of a straight 1×4 board at a 90 degree angle, so that it makes an L. The short end of the L will press against your fence, while the long end will rest on top of your board.
Attach the guide jig to your board with a screw on each end (close to the edge), and you’re ready to feed the first side through. Once you have your first straight edge you can unscrew the jig and turn the board for the second cut.
The Pros:
- Reusable
- Relatively easy to make
- Inexpensive
- Can use with short or longer boards
- Accurate
The Cons:
- Not practical for straightening several boards
- Slower – have to screw and unscrew the jig

The Clamp Jig
This jig is slightly more complicated to build, but the results are well-worth it. You can use a 12in board, or you can take a sheet of plywood and rip a 12in piece. Cut the wood into a 4 foot section, and then mount two hold down clamps to either side.
You want to make sure that your screws for the clamps aren’t poking through the underside to keep your jig flat. You also want to place the clamps so that they’re facing perpendicular to the length of the board – that way you can clamp any length of wood to your jig. To use it, clamp your wood so that the edge you want to cut is hanging over the jig, and butt the other side up to the fence.
The Pros:
- Reusable
- Quick and easy to use
- Can straighten multiple boards without hassle
- No screw holes
- Accurate*
The Cons:
- Depending on your clamp placement, may be hard to use with shorter boards
- More involved and expensive to build
- *If you don’t clamp your board down well enough, the wood can shift and your cut won’t be straight
The Store-Bought Jig
Why spend all that time and effort building a fancy jig when you can just buy one? Most store-bought jigs clamp to your board so there’s no screw holes or extra steps, and when used right you can rest assured that they’ll give you a nice, straight cut.
The Pros:
- Reusable
- No assembly required
- Quick and easy to use
- Can straighten multiple boards without hassle
- No screw holes
- Accurate*
The Cons:
- Expensive
- Not made for longer boards
- *If you don’t clamp your board down well enough, the wood can shift and your cut won’t be straight
Conclusion
No matter which jig you choose, it’ll make cutting a straight edge easier with your table saw. Then you can go back to woodworking with confidence, and your project will be that much closer to being complete.