
Notching your own wood can benefit you in different aspects. For one, you can save a ton of money by doing so yourself.
Cutting a notch in wood requires a set of skills. But worry not, because even if you’re a beginner, I’ll guide you through the steps of how to cut a notch in wood.
Contents
How to Cut a Notch in Wood
The three best ways to cut notches in wood utilize a circular saw, jigsaw, and table saw. Depending on the tools you have available, you’ll want to pick between which makes the most sense for you.

A circular saw offers the fastest way to cut a notch, but it is by far the least precise. If you just need a quick notch cut, using a high quality circular saw might be the right method (and fastest). But if the cut has to be precise, you’ll want to go with a table saw.
A table saw is the slowest for a single notch, but if you’re making multiple cuts, it offers some speed advantages. It is also the most accurate. If you don’t have one of these saws, even entry level models can significantly improve your woodworking.
A jigsaw falls somewhere in the middle of the other two options.
Let’s first highlight some of the items you might need to cut a notch in wood.
What You’ll Need
Regardless of which method you’re planning on going with, there are a few items you’ll require to be able to cut notches in wood. These materials include:
- safety goggles
- gloves
- marking knife
- workbench
- clamps
- measuring tape
Safety Goggles
Power tools used for cutting wood could hurl splinters and small bits of wood into your eyes.
Wearing safety goggles is essential when you start woodworking with any of the three methods, so to protect your eyes from any potential damage.
Gloves
Splinters are painful, it’s a well-known fact. Woodworking is fairly dangerous, so wearing gloves is a good idea to ensure the safety of your palms from stray splinters. Note: you never want to wear gloves when operating a bandsaw or table saw.
Marking Knife or Pencil
You’ll need an item to mark centers and lines for when you cut a notch in a piece of wood.

Marking knives or lead pencils are commonly used in woodworking for outlining the piece of wood you’re working on.
Tailor marking pencils also work wonders, they don’t engrave in wood and they’re easy to remove after finishing your wood piece.
Workbench
Flat, smooth surfaces are important if you want your notch to turn out to be as precise as possible.
You can use a workbench to cut wood on. However, it isn’t necessary as long as you have a reliable, even surface that allows you to chop wood on.
Clamps
Clamps tighten around the wood to keep it in place, which helps in getting an accurate cut. Using clamps is optional, but it’s recommended if you can’t keep your piece of wood still while working on it.
Measuring Tape
To be able to take the measures of the piece of wood you’ll be working on, you should use a measuring tape. Cutting a notch requires some degree of precision, which starts with making proper measurements.
Tools
- a circular saw
- a jigsaw
- a table saw
You can easily find and collect these tools in a hardware store. Keep in mind that both the table saw and circular saw will require a power source (unless you have a cordless circular saw).
You might require additional tools such as a speed square or a plywood base when you cut a notch in wood using different saws.
1. Using a Circular Saw
Using a circular saw can be tricky, especially for beginners. But, it’ll do a remarkable job once you learn the necessary steps.
Here’s how you can use one:
Step One
First things first, you’ll have to prepare the wood you’re going to work on.

Start with measuring the wood you’re going to cut using a measuring tape. Once you decide on the dimensions of your piece, outline it using a marking pencil.
Outlining the dimensions of the notch you want to make assists with easing the cutting process.
Step Two
Set on your notch’s desired depth and place the saw’s blade on the side of your wood piece.
Lift the guards and adjust the blade’s height until it’s a tad off of the depth line you’ve decided on.
Circular saws are the fastest among other saws when it comes to creating wood notches, so keeping a steady hand while working is vital. Using a circular saw often can help improve the shape of your notches.
Step Three
Before you start using the circular saw, make sure the piece of wood is stable and placed on an even surface.
Begin with cutting along the bottom line. Don’t rush the saw and keep a precise pace to get the best results. You can use a speed square to ensure a clean cut.
Turn over the wood, and start making cross-cuts parallel to the bottom line. Make the cross-cuts directly against the bottom line you’ve previously made. This helps in peeling off the wood when you’re done. You’ll see that small notches appear when you remove the cuts.
Continue making close cuts between the top and bottom of the wood piece until you’ve cleared the area you marked. Tap on the wood to get rid of the resulting sawdust.
Then, use a hammer and a chisel to remove the wood pieces you’ve cut. Hit the pieces from the top toward the bottom for easier removal, and there you have it!
If your notch happens to have bumps, you can use sandpaper to even it out.
Summary

- Place the circular saw on the side of your wood piece.
- Start making cuts toward the bottom line.
- Switch between making cuts on the top and bottom line of the wood piece.
- Create parallel cross-cuts for a more effective outcome.
- Remove the pieces you’ve created on the wood using a hammer and chisel.
- Sandpaper can also be used to even out bumps.
2. Using a Jigsaw
Jigsaws are perfect for creating curves and shapes on wood, but using one to cut a notch in wood will require some craftiness. With one of the best jigsaws available, you’ll be able to make short work of the cut.
Step One
After measuring the wood and lining your dimensions, start by firmly compressing the jigsaw’s shoe on the wood. Keep the blade away from the wood’s edge and start the motor.
Step Two
Move the blade across your outlines. Direct the blade at a steady pace that doesn’t cause it to deflect or causes pressure on the motor.
Direct the blade to the corners of the wood first, then to any inside curves. You can use relief cuts to prevent the blade from sticking to tight curves of the wood. By doing so, you can prevent potential faults from occurring to your wood piece.
If you want to cut through wood faster using a jigsaw; you can use a coarser blade, but the resulting notch will require sanding more than a notch resulting from using a regular blade.
Summary
- Press on the jigsaw’s shoe and keep the blade as steady as possible.
- Move the blade toward the wood piece’s corners, then direct it toward inside curves.
- Using relief cuts can help better the quality of the resulting notch.
- Rough blades can be used in place of a regular blade for faster results.
3. Using a Table Saw
Using a table saw is relatively easier than using both of the saws mentioned above. Having said that, table saws are hazardous. Taking caution is advisable when you’re using one.
Step One
Place your table saw over a plywood base to secure it. Plywood widens the base you’re placing your table saw on, which makes the saw safer and more stable to use.
You can screw the plywood to benchtops or sawhorses as well, depending on where you’d want to set the table saw.
Step Two
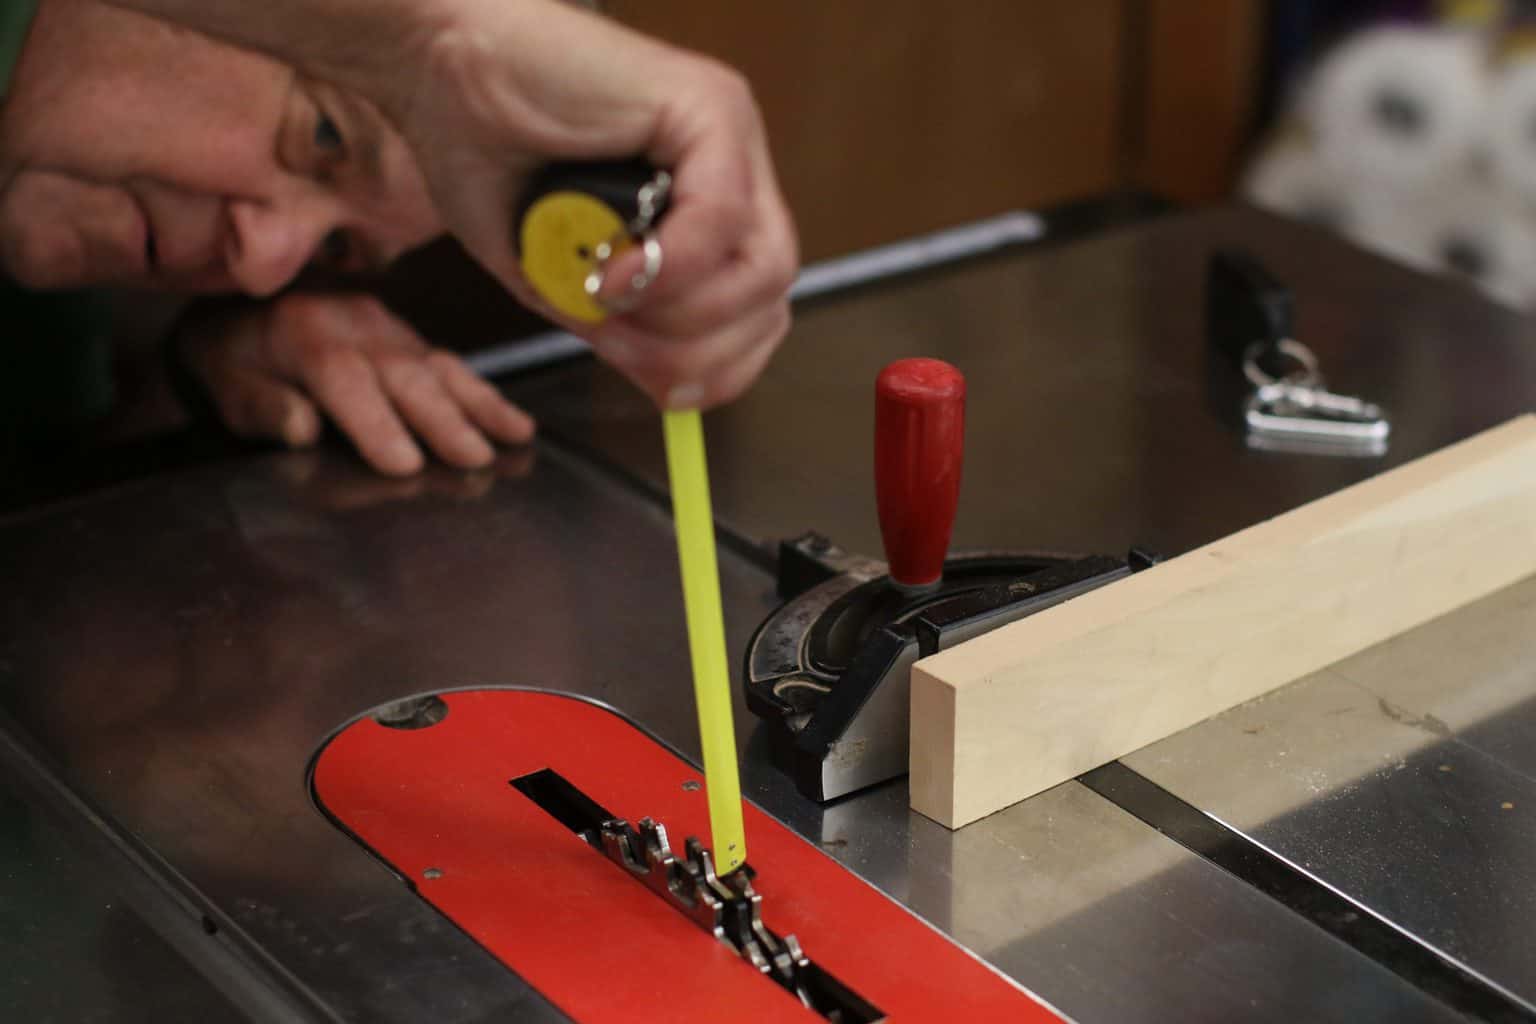
Place your piece of wood on the table saw, where it would flush in opposition to the miter gauge.
Remove the guard of the blade and create your first cut by lining the dado blade with your first marking. Hold the wood against the saw’s miter gauge and slowly push them together against the blade and back again.
Move the wood as needed and cut it again. Repeat the process until you reach the opposite side of the notch. You can clamp the piece of wood you’re notching to the plywood base to maintain its stability.
Finally, use a hammer and a chisel to clean the wood piece and shape the notch.
Summary
- Seat the table saw over a plywood base to secure the saw and avoid any accidents.
- Remove the blade’s guard and hold the wood piece against the miter gauge.
- Push the wood piece and miter gauge steadily against the blade and back.
- Repeat the process till you reach the opposite end of the notch.
- Use a hammer and chisel to clean the wood piece and give more shape to the notch.

Conclusion
Notching wood is a simple task. It doesn’t cost too much nor does it take too much time to perform. I hope this guide has helped you learn how to cut a notch in wood using several methods.