You don’t need a professional carpenter’s help every time you want your varnished wood furniture or floor repainted. You can learn a few DIY tricks and save on your labor expenses. Below I have an easy step-by-step guide to help you learn how to paint over varnished wood.
Contents
How to Paint Over Varnished Wood
Everyone has that piece of furniture or floor with varnished wood that they need to rework on. Such surfaces always look dull, worn out, and give the house a bit of a misplaced decoration.
Sadly you can be put off by the heavily applied vanish that you need to scrape off before you repaint the surface. It’s even harder when you don’t have the slightest knowledge of how to do this. Don’t worry, with the right materials you’ll be painting over varnished wood in a few simple steps.

What You’ll Need
- Lint-free rag or tack cloth
- Standard household cleaner
- Safety goggles, mask, and rubber gloves
- Medium and fine-grit sandpaper
- Primer
- Paint (depend on the color you want to apply)
- Paint spray, paintbrush, or roller
- Wood filler
- Non-slippery absorbing platter or protective sheet
Step One: Clean the Varnished Wood
The first step is to clean your varnished wood using a standard household cleaner. Cleaning the surface with a damp cloth will help you get rid of anything that might stop the pain from sticking.
With varnished wood, some of the dirt, grease stains, and grime might be stuck and difficult to get rid of, so it is good to scour them off. You can use trisodium phosphate (TSP) on very stubborn stains. Just make sure that you carefully follow the instructions from your cleaning product.
Varnish is not water-resistant so make sure you don’t leave the damp cloth on top of the surface to soak while you’re cleaning. Wipe the varnished wood surface with a dry piece of rag as soon as you finish cleaning it and let it air for a few minutes to dry.
Step Two: Fix and Fill Any Crack and Imperfections on the Surface
After cleaning your varnished wood surface, look for any cracks and dents. Filling your wood surface is important because the paint may fail to cover the irregularities and imperfection, thereby giving your wood a lousy appearance.
At this stage, I recommend that you use putty which will dry nice and hard, depending on your surface and type of wood. Use a flexible scraper wider than the area you want to fill to get even pressure over the crack or dent.
- Sanding the varnished wood
- Using a deglosser

After filling the surface, give it between 30 to 90 minutes for the putty to dry before sanding. If you encounter extensive cracks and rotten wood that might be difficult to fill, you can get a professional carpenter to help you restore the wood.
Step Three: Restore Your Wood to a Fine Even Surface
While you could remove the varnish completely, you don’t need to go to these lengths if you’re just painting over it. There are two ways that you can do this:
Method 1: Sanding the Wood
Use a #120 or #200 grit sandpaper to restore your woodwork to an even smooth surface. There are two reasons for sanding:
- It helps to clean the wood surface further
- It helps etch the wood so the paint will stick faster
For a perfect finish, you can sand the surface again using medium-grit sandpaper, preferably 60- 80-grit sandpaper. After the sanding, wipe the wood thoroughly to get rid of the dust and debris. It will also help the paint to stick.
Remember: Cover your nose and mouth with a face mask to avoid inhaling the debris and dust while sanding.
Method 2: Using a Deglosser
A deglosser, also known as a liquid sander, is only ideal if your surface is in comparatively good condition. When you apply it to your piece of wood, it initiates a chemical reaction that helps dull the old finish.
To apply it effectively, spray it on the wooden surface and wait for a few minutes. The period of waiting will depend on manufacturer instructions on the product. After the prescribed period elapses, use a dry piece of cloth to wipe off the deglosser.
Then, pour some deglosser on a piece of clothing and rub it over the entire wood surface in a circular motion. Only stop when the varnish disappears.

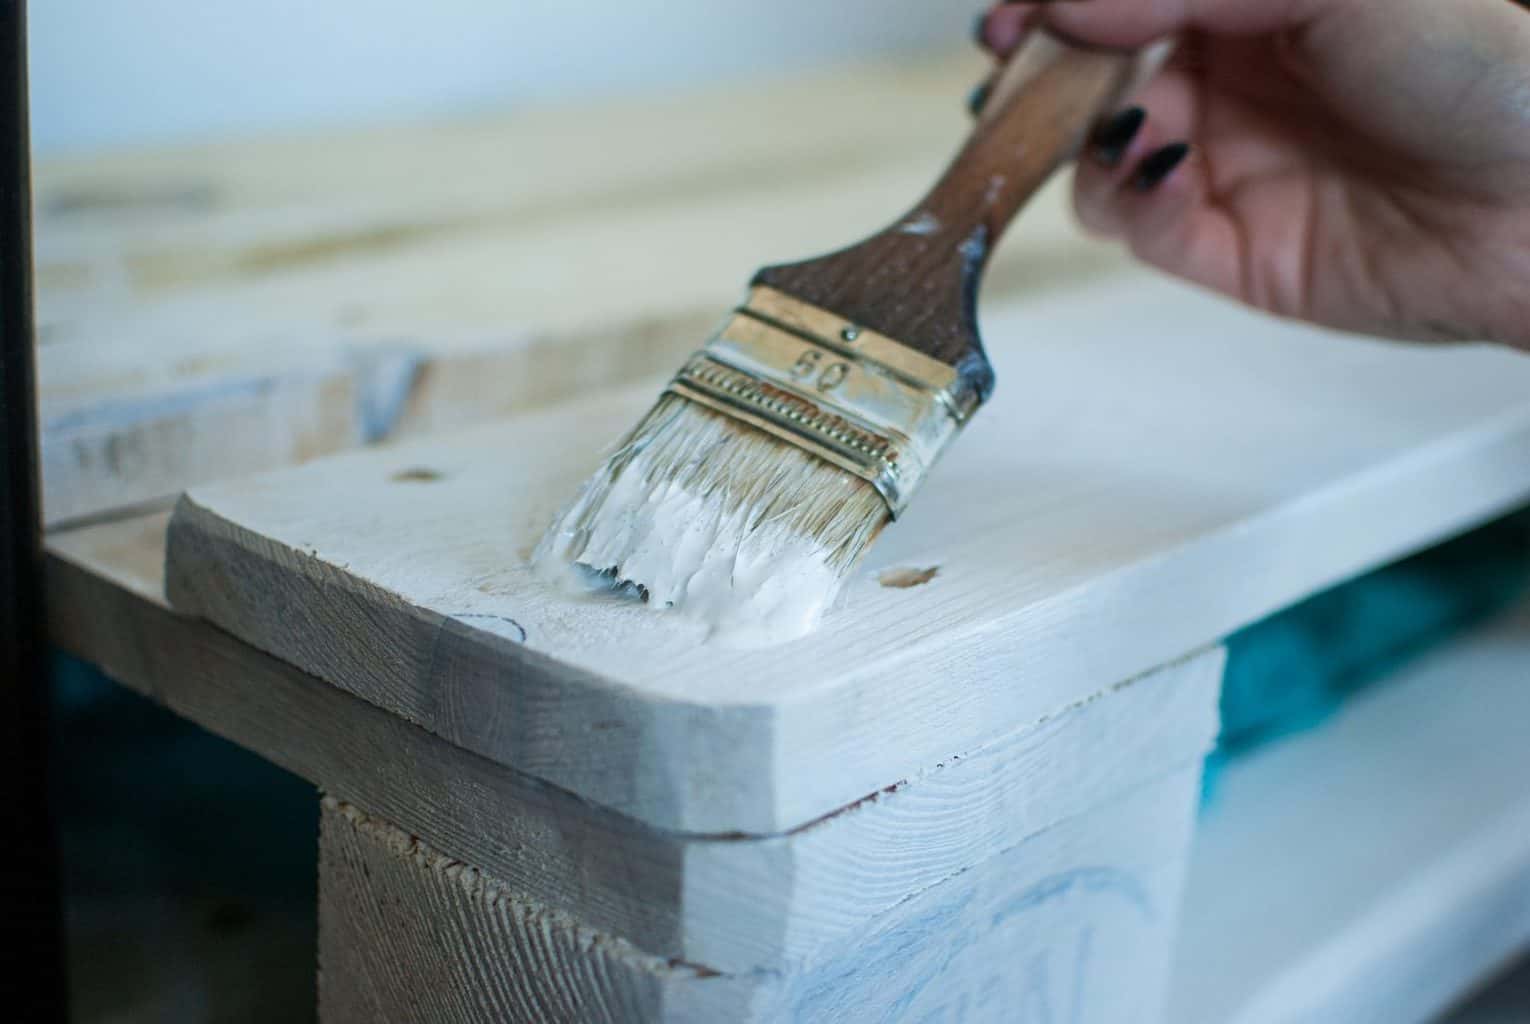
Step Four: Apply the Primer
When using an oil based primer, use a respirator or face mask to prevent you from inhaling the hazardous and harmful chemical emissions from the paint.
When using water based primer, you don’t need a respirator if you are working in a well-ventilated area, preferably outdoors.
Pour your paint, whatever color you choose, into a container, or a can then stir it thoroughly. The amount of paint you choose to use here will depend on the surface area you need to cover. Make sure you read the instructions on the product to keep yourself safe.
Use a roller to apply your primer, which helps the topcoat to stick and also seal off the under-surface. To get the best results, ensure that you lay the paint off before it tacks. Rolling over the surface lightly with barely any traces of paint on the roller. Darker stains need more coats of primer, maybe two.
Step Five: Apply the Topcoat
Once your primer is dry enough, you can prepare to apply the topcoat. The number of coats you need will depend on the type of wooden surface you are painting. You can paint as many coats as you deem fit provided it gives you the result you are looking for.
If you prefer paint that will dry quickly and hard, you can use water-based enamel. This also features a slight sheen level, meaning that you can wipe the painted surface.
For broad and extensive surfaces, the roller is an ideal choice, especially when using acro-enamel. For small and trickier surfaces, you can use a medium-sized paintbrush. Always ensure that your paint is 100% dry in between the coats.
What Type of Paint Should I Use for Painting Varnished Wood?
To paint varnished wood, there are three basic paint types to consider. Here is a guide to help you pick the right product for painting varnished wood.
- Water Based Paint: I recommend water based paint if you want something that gives the best results in the shortest time possible. Water based paint only needs four hours to dry before you can apply the next coat. The best choice is either acrylic or latex paint.
- Oil Based Paint: Oil based paint is great for color richness and a vibrant looking finish. However, they have a disadvantage in that they are slow in drying. Oil based paint requires 8 hours to dry enough to be ready for subsequent coating.
- Chalk paint: Chalk paints are good if you fancy ultra-matte vintage finishes. It is also the ideal option if you’re not a great painter. It only requires a few strokes to give you a beautiful finish. Plus, chalk paint is perfect for hiding imperfections.
Spend some time to think through the end use before you start to paint over varnished wood.
What is the Best Primer to Use on Varnished Wood?
To paint over varnished wood, you first need to understand that primers are strictly specific to how they work. Therefore, you should check on the product description for an ideal wood primer before you buy one. Here a list of primers you can use in a plank of varnished wood.
Stain-Killer Primers
Use a stain-killer or stain-blocking primer if you want a great result without any traces of tannin, grease, or stain. It works best on well-sanded surfaces. The primer is ideal for projects in high altitude regions as it is anti-wood resin.
Water Based Primers
Water based primers are compatible with acrylic or latex paints. It is usually ideal for walls and ceilings that require new work and preparations. This primer does not need turpentine, so it is easier to use, and you only need to wash the surface well with warm soapy water.
Oil Based Primers
I recommend using this primer with enamel paints. Oil based primer is perfect for doors, windows, woodworks, and metals. The primer bonds excellently with the surface. However, it is slow drying, so you will need to give it some time to dry.
Shellac Primers
If you want something that is fast drying, then this is the best option. It is ideal, especially when you have to paint a wooden surface that is exposed to outdoor conditions. One disadvantage of this type of primer is that it is messy and can leave marks making it difficult to sand and paint the surface.
Can You Paint Varnished Wood Without Damaging It?
Yes, you can paint varnished wood if your varnish and wooden surface are in perfect condition. However, I do recommend that you completely strip off the varnish before working on your project.
Applying the paint over varnished wood might give shoddy results as opposed to the beautiful finish you expect. If you are not sure how to do this, you can always seek the services of a professional carpenter.
Conclusion
Painting a varnished piece of wood is a simple DIY project that anyone can do. You can always refer to my guide above for a perfect job. Ensure that you have read every instruction on the product label and adhere to safety measures in every step.