
The drywall in your home could be damaged because of a variety of reasons. Holes in the wall from pins or nails where art has been hung, screw holes, or scratches from moving furniture. These and other indentations, punctures, cracks, imperfections, or other types of damage can make your walls look less than stellar.
In these instances, the best way to repair the wall damage is with a spackle. Today, I’m going to present you with a complete guide on how to spackle. I’ll cover the best spackle methods for nail holes, how to spackle large holes, and how to fix spackle showing through the paint.

Contents
How to Spackle

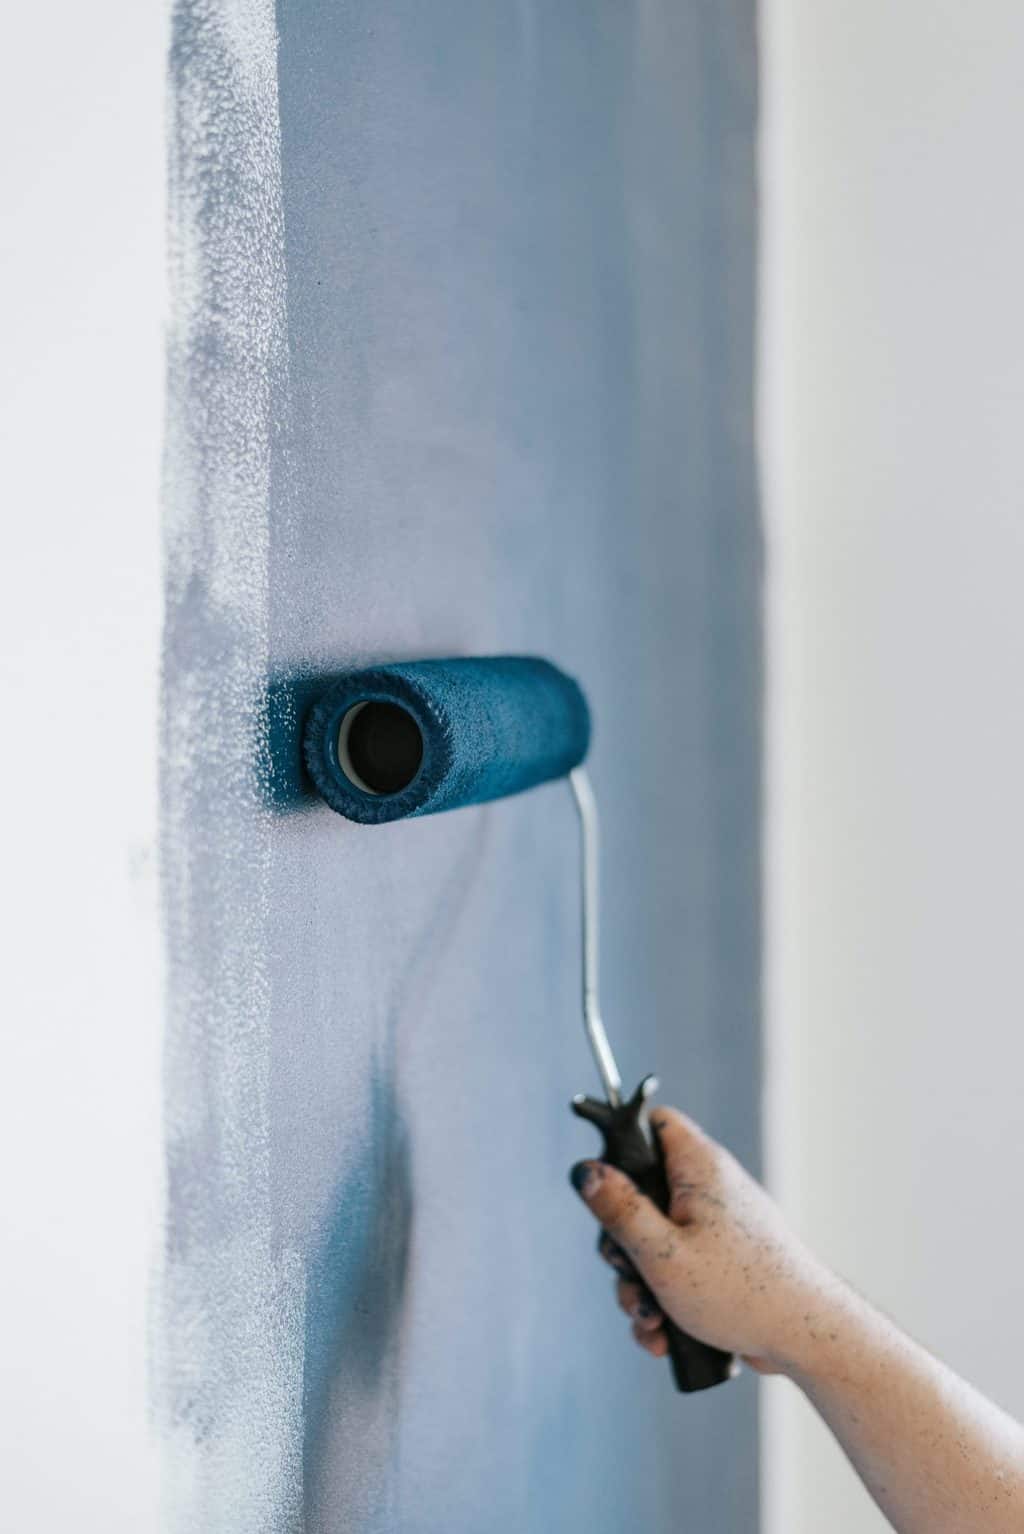
When fixing small dings, cracks, or screw holes in a wall, spackle and a putty knife are usually used to bring the wall back to a smooth, even surface. If you are wondering how to use spackle, how to spackle drywall, or how to apply spackling paste, I’ve got good news – it’s not difficult. Add a fresh coat of paint on top of the spackle, and your walls will look pristine and flawless again.
You can spackle ovwer paint as long as you have paint of the same color at your disposal. But, it is best to lightly sand down the paint and apply primer before spackling. Then, after matching the wall texture and smoothness, you can paint over the spot you’ve fixed. The result is a perfectly smooth, even wall.
Tools and Supplies Needed
In order to properly repair drywall or plaster walls with spackle, you will need the proper tools. How to spackle walls? First, you’ll need those:
- A drill equipped with a mixer bit. Spackle is usually sold as a dry mix to which water is added. The drill with a mixer attachment will quickly and efficiently mix your spackle to a smooth and even consistency, eliminating clumps.
- A set of putty knives, sometimes called spatulas. You’ll use a putty knife to apply your spackle to the walls. You’ll want several different sizes.
- With more than one putty knife, you can quickly and easily cover the areas you need to and reach all the nooks and crannies but also corner spots. Having several sizes of putty knives will help you spackle outside corners and spackle drywall seams. This includes hard to reach spots in the corners.
- Paint rollers and brushes for priming and painting walls. If possible, don’t buy the cheapest brush – you’ll regret it. Instead, invest in a decent paintbrush and keep it clean in between uses. You’ll be able to paint much more accurately with a decent paintbrush.
- A straightedge like a yardstick, meter stick, or level. This will be very handy when applying a thick layer of spackling paste for a large repair. The long straightedge can be used to quickly smooth over the entire spackled area.
- Level or Laser level which can help you determine where uneven surfaces are.
- Sandpaper: In order to get the most pristine surface possible, you will want to have some sandpaper.

Before you begin spackling, make sure to sand the wall with a coarser grit of 100 or so. This will prepare the wall to be spackled. Then, finer grits (200-400) are used to finish the surface.
- Sanding block. While you can use an orbital sander, I like the control that a sanding block and good old-fashioned elbow grease give you.
- A bucket or container to hold your spackle. I prefer one with a lid that can be closed, as spackling paste dries quickly.
Wall Preparation
You must ensure the surface of your walls is perfectly clean before you apply spackle. Go over surfaces with a cloth and remove any particles. Using very fine grit sandpaper, lightly sand through any layer of paint that is present.
While you can spackle over paint, it is difficult to make these repairs particularly smooth. For the best results, sand down the area to remove the paint and clean it thoroughly.
Before you spackle your walls, make sure to apply a primer. This will ensure the spackle adheres correctly to the wall surface. Using a paint roller, apply the primer smoothly and evenly. A single layer should be sufficient.
Step By Step Process
For our money, the best bet is always to take the dry mix and make your own at home, in the comfort of your backyard. This way, you can get a spackling paste of the best consistency for your project.
Some people find it easier to apply a denser, putty-like spackling paste. Others prefer a little thinner consistency. With some trial and error, using small amounts mixed to different consistencies, you can find what works best for you.
- When you mix the spackle, simply pour the powder into the appropriate container and gradually add water. Using your drill and mixer bit, stir constantly.
- Once your spackling compound is mixed, the next step is to apply the spackle to the clean wall. Begin with the largest putty knife you have and apply it to the area. Use one that is reasonable for the job at hand.
- For small nail holes, you should be able to fill them with spackle with no need for additional stability.
- For larger holes, it is sometimes helpful to cover the hole with mesh tape to give the spackle something to adhere to.
- For “potholes” (indentations that aren’t open holes), fill them up with the spackle. Once they are even with the rest of the wall, add spackle to smooth over. Using your putty knife and straightedge for larger areas, you should be able to blend your spackle into the rest of the wall until everything is perfectly smooth.
- Once you have applied your last layer of spackling compound, all the surface defects, including cracks, seams, holes, punctures, imperfections, indentations, and so on, should be well hidden. If you plan on wallpapering, you may consider proceeding to the wallpaper step now.
- Using fine-grit sandpaper and a sanding block, carefully smooth out your dry layer of spackle. I prefer a sanding block and my own hands for this. A power sander is often too powerful for the relatively brittle spackle and will easily sand too much, resulting in uneven surfaces. Be gentle but firm, and use fine sandpaper for the best results.
If you are covering an entire wall, you may need several layers of spackle. This is often the case with larger projects, such as drywall seams. Each layer will dry in about a day, and additional layers can be added. If covering an entire wall, you will want 3-4 coats of spackle for best results. For smaller repairs, a single or second coat is often sufficient.
The surface doesn’t need to be absolutely smooth to hang wallpaper. However, if you’re painting over your spackle, sanding is often necessary.
Tips for Better Spackling
Here are a couple of tips to make your spackling project a little bit easier and more successful:
- Have a selection of putty knives available, with wide and narrow blades. Use the wide blade putty knife for initial coverage. Then, rather than dipping the narrower blades into your container, you can use the wide putty knife as a palette.
- Keep the lid to your spackling compound closed. If you are using a pre-mixed spackle, use the lid that came with it. If you mixed your own, use the lid for your container, or find another way to keep it covered.
- Don’t over-sand. Even with fine-grit sandpaper, just a couple or three strokes is typically enough to produce a smooth, flat surface.
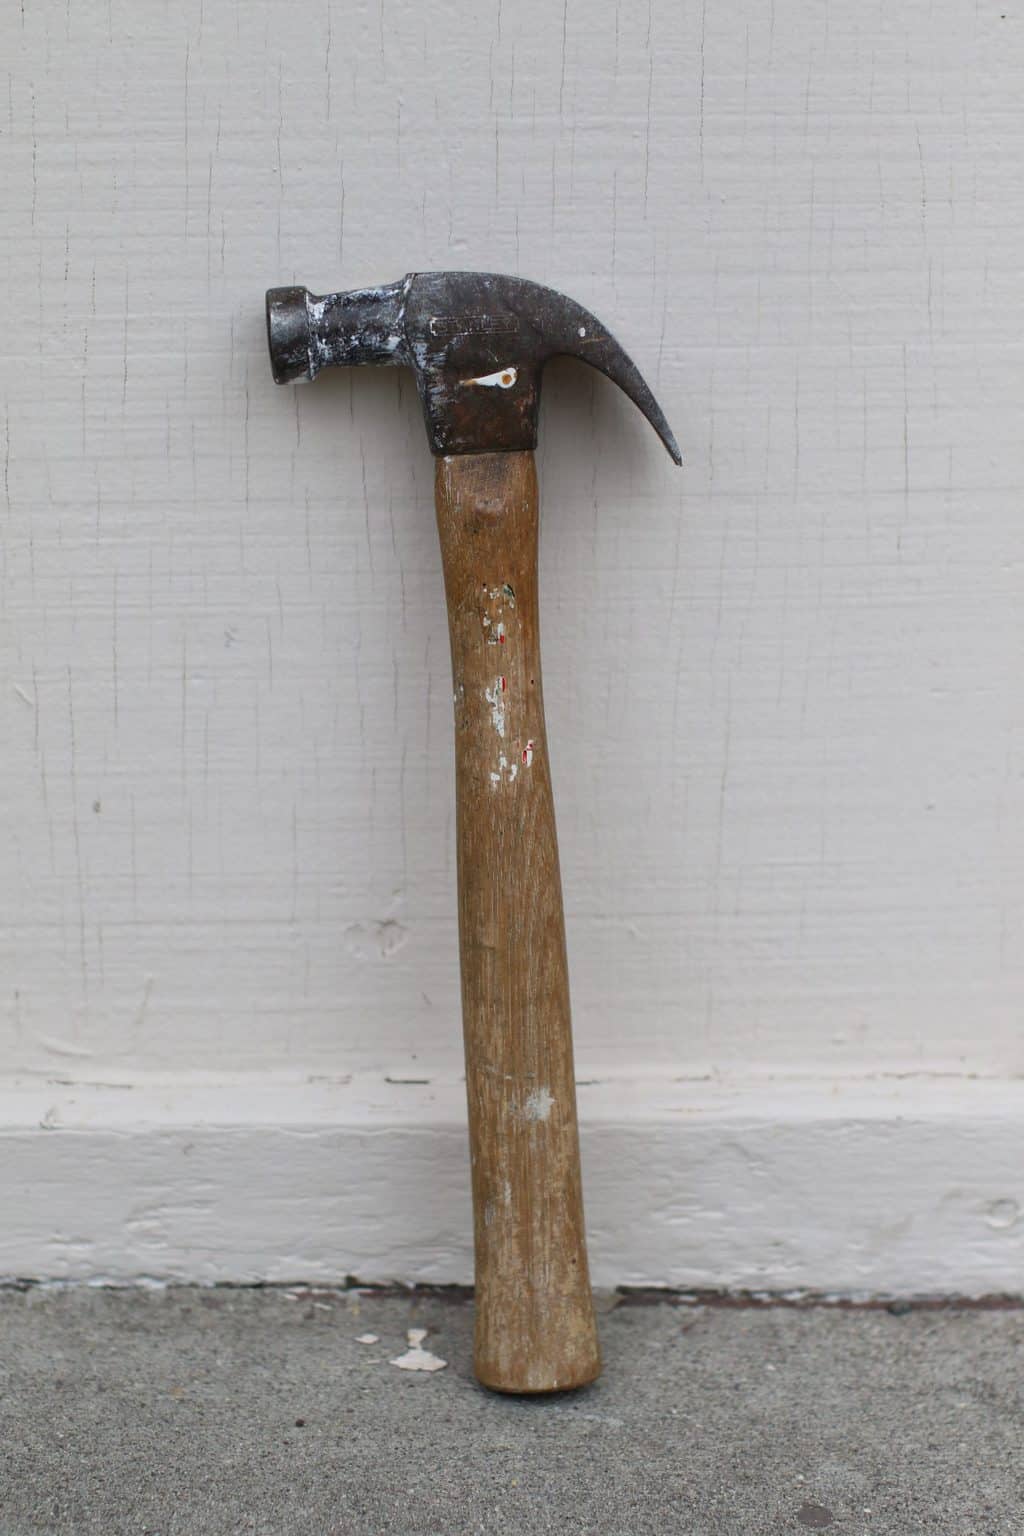
- If there are nails or screws in your wall, use a hammer and nailset to sink them into the wall’s surface to prevent them from protruding through your smooth spackle. You can then fill the resulting small indentation just like any other imperfection. Spackling small holes is a relatively easy and quick process.
- Clean your putty knife to prevent them from getting gummed up with spackle. Make sure not to wash the spackle in the sink as it can cause nasty clogs.
- Vacuum the area that you did the work on. Drywall dust is made up of extremely fine particles and will coat your entire area.
How to Paint Over Spackle

For several days following your work, your spackle should be kept dry and warm. After it has dried, you can paint over your spackle. Use light and even strokes in order to ensure good coverage. Blend into surrounding paint if necessary.
Satin or semi-gloss paints often require blending. If you are attempting to match a paint already on the wall, and you do not have more of the original paint to use, be prepared for the possibility that you might need to paint the entire wall.
It is good to know how to fix spackle showing through paint – this is quite common, especially in the case of darker colors. Since the spackle is white, you might need a second coat of paint to fully cover the paint. Simply allow the paint to dry and apply additional coats, blending as necessary.
How Long Does Spackle Take to Dry?

You can’t paint or sand spackle until it’s dry, so it is important that you know how long the spackle should dry before sanding.
There are three main factors that go into determining how long for spackle to dry:
- Type of spackle: Some of the products available on the market dry fast, though in most cases, the spackle drying time is going to be rather significant.
- Temperature and humidity: Really hot or really cold conditions slow down the drying time, as does high humidity. Makes sense, right?
- Size of fill area: The larger the area you a filling, the longer the spackle will take to dry.
While fast-drying, spackle can take a few minutes to dry; normal spackle takes 1-2 hours to dry to the touch. Wait another 1-2 hours before sanding and 24 hours before painting.
This is just a general rule of thumb – make sure to adjust according to the factors mentioned above.
How to Sand Spackle

Before getting started on sanding spackle, make certain that the spackle is dry. You need it, or else you will pull off pieces of spackle.
- Start with normal grit sandpaper, such as 120 grit.
- Sand slowly, starting at the edge of your spackle patch and working your way inwards towards the center.
- Don’t oversand – you don’t want to take off too much spackle and start cutting into the surrounding drywall.
- If the area still looks a bit rough when you’re done sanding with 120 grit, switch to a finer grit, such as a 360 grit. This grit sandpaper won’t take as much of the spackle off but will smooth the area nicely.
Be careful when using a powered sander, as these can sometimes do more damage than they do good.
Joint Compound vs Spackle

Which is best for your project: joint compound vs spackle?
Spackle is a very lightweight vinyl that dries relatively quickly. It works wonders on small holes but can’t really be used for any hole larger than 1/4″.
A joint compound, often referred to as drywall joints, mud or drywall compound, is made primarily of gypsum. You typically use it when taping drywall, but you can use it to fill drywall holes as well.
Unfortunately, it dries more slowly than spackle, and the shrinkage is another issue. An upside to drywall compound is that it is very easy to sand.
- Use spackle and a putty knife to fill holes that are 1/4″ or smaller. Its quick-drying capabilities and lack of shrinkage make it a great solution.
- For any holes that are larger than 1/4″, drywall compound makes for a really good solution.
Spackle vs Plaster

Spackle is best used for small holes, and drywall mud for larger holes. But what about spackle vs plaster, and when to use each of these?
Plaster is a mixture of gypsum, sand, and water and dries as a very hard, firm surface. It requires a trowel to apply to your wall and dries very quickly. Upon drying, it will take a significant amount of touch-up through sanding and painting to make it blend in.
Using plaster to fix or repair holes in your wall should be reserved for only significant, large holes that are past what spackle or drywall mud can handle.
Spackle is a lot easier to apply and a lot easier to blend in once done.

Conclusion
Follow this simple, step by step guide on how to spackle nearly any kind of repair or project in your home.