As an Amazon Associate we earn from qualifying purchases.
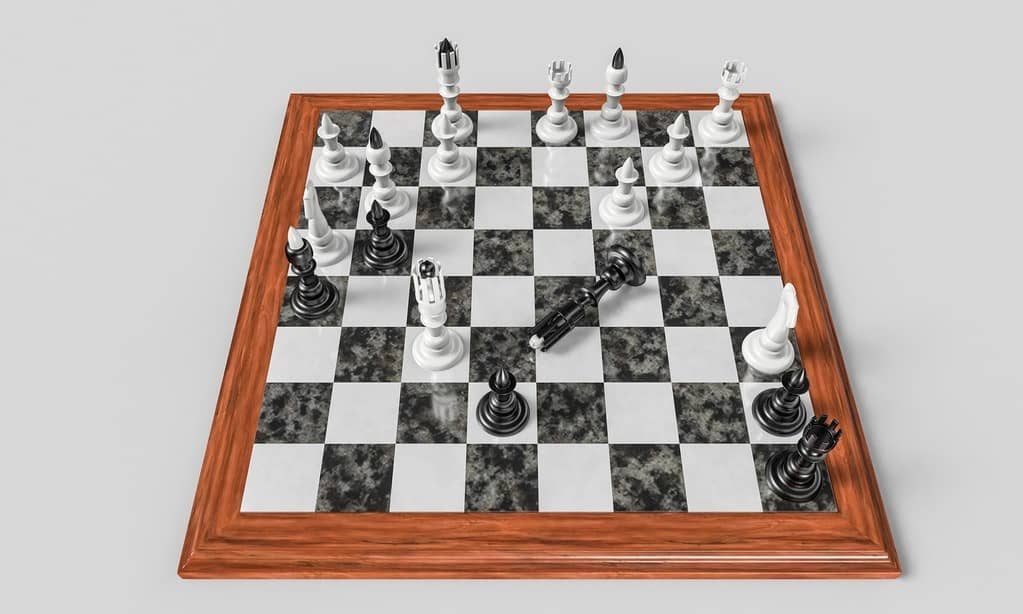
Over 1500 years ago the world started playing chess. Whether it actually originated in China, India or Persia, it all started on the same checked board that is known and loved today. From a strategic war game to the calming living room battle, the chess board is a staple in many homes.
If you’re wondering how to make a chess board of your own, I have the quick steps to a high-quality board!
Contents
Proper Preparation
The very first thing you’ll want to do in creating your chess board is to gather all the necessary materials. Anytime you’ve started a DIY project, having everything you need at hand and ready can make the whole project easier.
Here’s what you need:
- (8) 2”x18” strips of a light-colored wood (maple wood is a favorite)
- (8) 2”x18” strips of a dark-colored wood (walnut wood is a favorite)
- Method of measurement that is very precise (digital caliper – more on this below)
- Dowel Jig
- Clamp
- Wood glue
- Putty knife or scraper
- #220 sandpaper
- Crosscut sled
- Varnish and/or finish of your preference.
All of these are standard woodworking project tools. If this is your first woodworking project, you may have some questions about the tools you’re using.
A digital caliper is a simple device that measures the distance in length from one side of an object to the other. You use it to measure the combined distance of the wood strips. If you’re buying a digital caliper for the first time, consider one that has a four-corner locking mechanism.
A dowelling jig is a type of drill that bores into the wood to create a joint or “butting.” You want to use this over a standard drill. They are easy to align and connect by either gluing or making a joint.
Take into account every feature possible when you’re buying new saws tools! A table clamp is also a necessity here. It holds all your wood together as you go through the gluing steps.

How to Get Straight and Even Edges
Take your pieces together and stagger them as first a strip of the light-colored wood. Then, take a strip of the dark-colored wood. Continue alternating, and you are on your way to knowing how to make a chessboard.
To “edge glue” you’ll want to glue between your strips of wood and clamp them together. Then use a caliper to measure the difference. Finally, use a straight edge. Usually, there’s one on the caliper. This will ensure all four sides are even.
How to Cut the Chess Board Panel
You’ll be using your table saw to the crosscut sled to cut down the “panel” you just made.
Measure out and mark equal spaces to end up with 8 strips of alternating dark and light wood strips. These are used to ensure the pieces are completely uniform, which is why the entire panel was made earlier.

Note of caution. It may seem easier to “just cut the pieces to shape” from the beginning. But, by working systematically you can save yourself a lot of time and end up with a beautiful homemade chess board.
How to Make the Chess Board Tiles Stagger
After your strips are cut, it is easy to see your chess board coming together. Flip every other row over. This should make every square alternate in any direction except diagonal.
To complete the staggering of the tiles, you’re going to use the handy dowel jig mentioned earlier. Use the dowel jig to bore holes into a few of the squares on each strip. Be sure they line up all the way across. Use mini-dowels to create a sort of “lock” between the strips.
How to Lock the Chess Board in Place
Using wood glue, you’re going to secure everything into its final place. Between each strip, layer enough glue that it leaks out of the top when you apply pressure. This glue, with the dowels, will securely hold your chess board in place for many years.
After you have slid all the dowels into place and thoroughly glued between each strip, place your re-assembled panel into the clamp. Use your clamp to finally lock everything in. Then, use your putty knife to scrape off the excess glue that surfaced.
The Finished Chess Board
When your panel is done drying, you can add some creative finishing touches to your board. Many people begin to question how they can make their board unique when they are evaluating how to make a chessboard.
That isn’t hard to do. The most classic option is to add an additional two-inch border. Using either of your wood choices, you can fit them to lock into each other and sit flush around the panel.
Use the dowel jig on the corners of your border pieces. Your corners will resist the pressure and strain of being moved around throughout the years. The dowel jig will also be used to attach it to the chessboard the same way you made your panel in step three.

Additional Chess Board Ideas
If you want your chessboard to have a more polished look, use these three steps:
- Use the #220-grade sandpaper all over the surface
- Oil and varnish the surface and let it sit overnight
- Seal the board with wood finish. Apply generous amounts and let it dry without being disturbed. Follow the manufacturer’s instructions.
Conclusion
Now you’re ready to make a chessboard on your own. Duel with your friends or use your board to show off in competitions. Chess enthusiasts often build their own chess sets.
Knowing how to make a chessboard is a strong foundation for building your own set!

