Do you have a wood surface you need to cover to provide more protection, aesthetic improvements, or structural integrity? If so, you may be thinking about laminating wood together using a surface covering like Formica.
Today I will be presenting a quick and easy guide on how to laminate your own plywood projects, tables, cabinets, or other wood surfaces using these materials and a few basic tools. If you’re searching on the web for how to laminate wood together and coming up only with ads to buy laminate or veneer flooring, you’ve come to the right place.

Contents
How to Laminate Wood Together
1. Gather the Materials
Plywood is a durable, rugged, and inexpensive building material. Unfortunately, it’s also not too easy on the eyes. Plywood looks as rugged and inexpensive as it is.
For that reason, many people look for ways to make their plywood projects more attractive by veneer laminating. Still, others have wood surfaces like cabinets, tabletops, and other places that simply get too much wear and tear.
These need a little protection without giving up on aesthetics. For any of these projects, lamination is a great option for turning these items and surfaces into beautiful elements of your home. Veneer lamination adds durability, water resistance, and exterior beauty to any wood project.
Before you begin your laminate project, you’ll want to gather up the required materials. These include veneer, glue, and some sort of substrate. This usually means plywood, MDF (medium-density fiberboard), or some other strong, sturdy, stiff material to act as your laminate’s foundation.
The tools you’ll need include:
- An adjustable router with adequate eye and ear protection. Routing is very loud and sends bits of wood everywhere! Wear safety glasses and earplugs. Know exactly where the nearest eyewash is, just in case you need to use it in a hurry.
- A small roller
- Sandpaper and a sanding block, or power sander
- A cleaning brush
- Contact cement such a Weldwood or similar (which will be used as glue) and a well-ventilated area in which to apply the cement
- A screwdriver
- Clippers
- A table saw (recommended), or similar circular or hand-held saw for cutting laminate and plywood
- Disposable gloves (optional, but your hands will thank me later)
2. Cut the Laminate
Before you can install your laminate, you’ll need to cut both it and your substrate. You should measure and cut your laminate to be just a bit larger than your foundation. I like to leave about 1/4” on every side.
As mentioned in the list above, I think the best way to do this is with a table saw because it will produce the most reliable and straight cuts. However, if you’re good with a hand-held saw like a circular saw, this will do in a pinch.
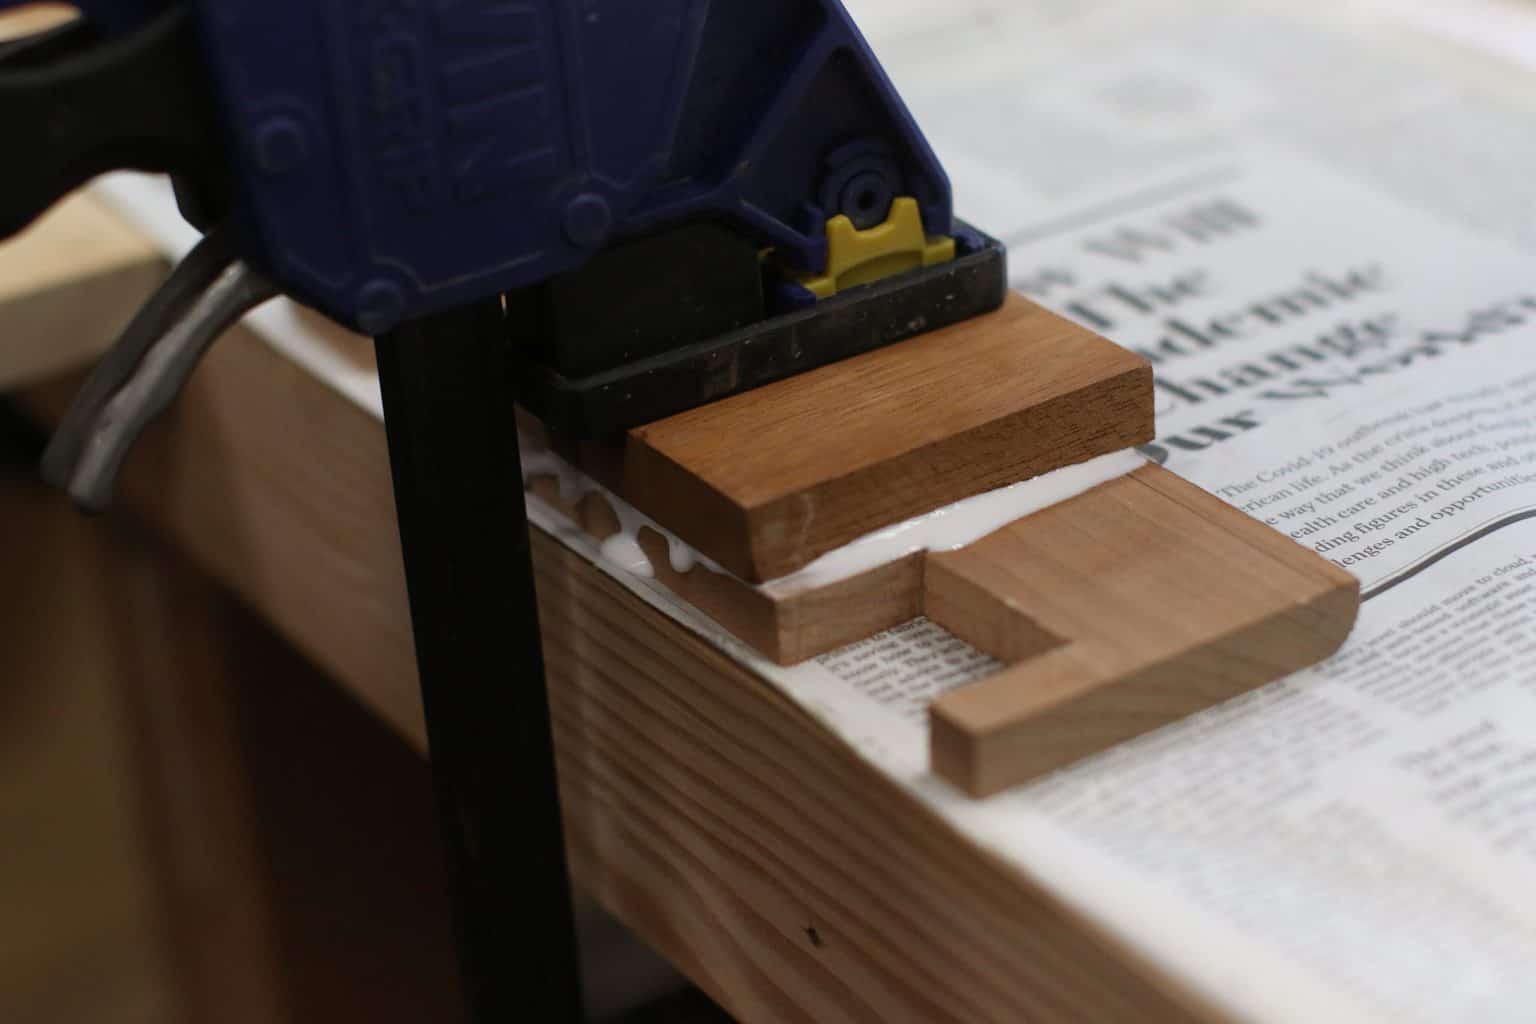
Once you have made your cuts, arrange the cut pieces of laminate on a temporary surface. Use some scrap pieces of wood or scrap newspaper. This way, when your cement drips (and it will), you will not damage your work surface.
When applying the cement, it helps to tape down the sides of the laminate. Keep in mind the 1/4” margins around the edges. Sometimes, veneer laminating materials tend to be brittle, especially against the “grain” of their construction, and no one wants a chip in their project of laminating boards together.
3. Glue the Laminate in Place
Open the can of cement with the screwdriver I reminded you to bring along – it will serve as glue. Now, even though you have set out the laminate on newspaper and/or scrap wood, try to keep the cement off your nice furniture and other surfaces. If you do slip and spill, it can be removed with the help of acetone if you’re quick to react and not let it glue with too much strength.
4. Coat the Surfaces
Before you begin to apply the cement to glue the parts together, make sure you clear the surfaces from any dust and other debris – it will be crucial for applying laminate to plywood without any pollutants. If the surfaces are not clean, your project will not lay flat and won’t glue as well.
According to the instruction on the container, apply the cement to glue the laminate, which you’ve taped down. This helps to ensure it doesn’t slip or fall. Coat the bottom of your laminate and the top of your foundation or plywood with a single coat of cement.
I like using long strokes with a roller to ensure the glue is applied evenly. Make sure you coat the edges as well. If you have multiple pieces for laminating plywood together, doing these in a batch can help save time, as the cement usually takes a long time to dry.
In addition, plywood is often rather absorbent, so it is usually best to put on more than one coat of cement. Allow each coat of this glue to dry. Contact cement tends to work best when it is dry rather than wet. Don’t worry about being in a hurry for this part – when you glue something, you usually need to be patient.
Once your cement surfaces are dull, tacky, and not wet or shiny, they are ready to be put into place.
5. Attach the Laminate to the Wood
Now it is time, at last, to attach the laminate to the plywood or other foundation. Remember – you have 1/4” margins around the edges, so leave it hanging off the edges. Simply place the laminate where it needs to be. For larger pieces, you can place intermediary pieces without the glue on large flat surfaces.
Once you have placed your laminate, pressure-roll the entire surface to ensure a good, solid seal. Be careful around the edges. You don’t want any chips, and laminate, as I mentioned, can be rather brittle. Use good pressure and work evenly and completely over the entire surface to ensure a good seal and contact with your glue.

6. Route the Edges
Once the laminate is in place, it is time to eliminate those 1/4” margins I built in to ensure I wouldn’t accidentally laminate my wood off-center. When you use your router, be sure to use your eye and ear protection. Be careful around the edges.
Keep a constant distance from the edge of your substrate, and don’t try to “dig in.” This will ensure your edges are razor-straight and perfectly flush. Use two hands to have even pressure and maximum control.

Conclusion
And there I go – now you know how to apply laminate to wood! If you transport your laminated wood from a workshop to your home, remember the laminate is still quite easy to chip, and the glue may not be that strong yet. Be careful in transport to achieve proper thickness laminating without any damages.
I hope this guide has been helpful in teaching you how to laminate wood. Check back often for more step-by-step guides!