Asphalt, while durable and steadfast, doesn’t stand a chance against a well-handled circular saw. Navigating this task, especially with a tool typically associated with woodwork, can seem intimidating.
But, this process is more approachable than you might expect. I have a 300ft long asphalt driveway that is old and I’m constantly needing to maintain.
With a focus on method and safety, cutting through the thick asphalt becomes a manageable task (provided you have the right blade). Lets dive into cutting asphalt with your circular saw.
Contents
How to Cut Asphalt with a Circular Saw

Required Tools
If you want to tackle this project with tools that you likely already have, you will want to use the following:
- Circular saw,
- Diamond blade
- Chalk
- Hammer
- Broom
- Chisel or screwdriver
- Safety goggles and gloves
- Shovel
Many saws have options for cutting through asphalt. However, you probably don’t have one of those in your garage.
However, a circular saw is a relatively common tool. Most homeowners like myself have one in their shop. Fitted with a tough, diamond blade, you can make smaller cuts in asphalt.
Once you have everything gathered, you are ready to get started. It seems like a huge task at first, but gets easier the second you start cutting.
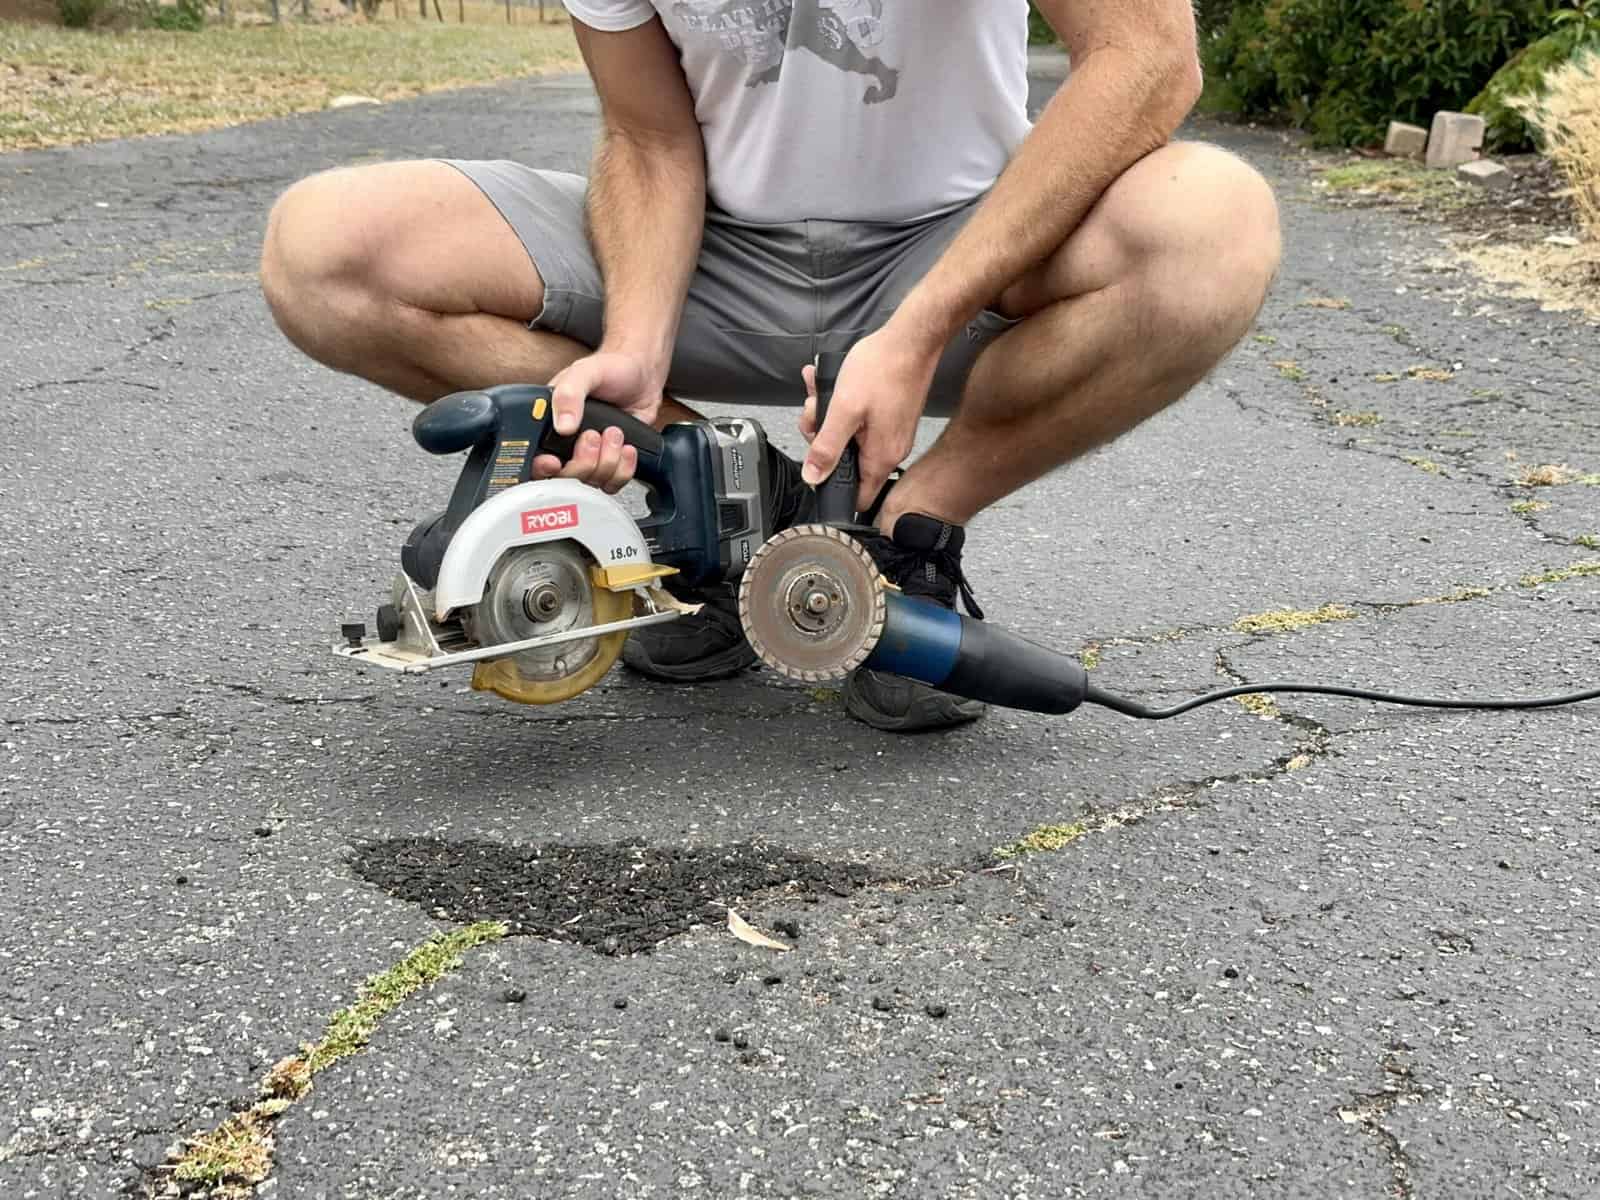
If you don’t have a circular saw, learn how to use an angle grinder for making smaller cuts in asphalt.
Planning Your Cut
The most important part of cutting asphalt is planning out your cuts. Start by using a broom to remove debris that might get in your way. The easiest way to draw a straight line with chalk is to “snap it”.
You can use a chalk line, which is a string coated in chalk. You place it over the area you want a straight line, then lift it up and let it hit the ground. The string creates a straight line along the ground. Using this tool can save you a ton of time.
However, if you don’t have a chalk line, you can use chalk and any straight edge that you have. It will take longer, but you will still get good results.

Making Your Cuts
This method is one of the most popular ones for cutting asphalt. Many people who enjoy DIY projects already own a circular saw – you may just need to get a new diamond blade. Make sure that it is sharp before you get started.
- Clean the space where you will be cutting. Use the broom to remove debris from the area.
- Draw where you want to cut with the chalk. If you are patching an area, make sure to give yourself a lot more space than you think you need to fill. Always draw in squares; circles can cause issues.
- Go over your chalk line with the chisel or screwdriver. This process gives you a more defined and straight line before you make your first cuts.
- Put on your safety gear.
- Attach a diamond blade to your circular saw. You will want to use a worm drive or a circular saw.
- Set the blade depth to the thickness of your asphalt.
- Pull back the blade guard and start your saw. Let it run until it reaches its full RPM before you make the first cut.
- Slowly apply the blade to the asphalt and follow your chalk line, using the circular saw’s power to slowly go through the cut.
- When done, let the blade stop moving before you lift it up.
Safety Precautions
Cutting asphalt with a circular saw demands a focus on safety. Here is what I wear when cutting blacktop pavement:
- Personal protective equipment (PPE) is the frontline defense against potential harm.
- Safety goggles or glasses shield your eyes from flying particles.
- Ear protection reduces noise exposure, preventing hearing damage.
- A respirator mask is essential to avoid inhaling harmful dust and vapors.
- Heavy-duty gloves and steel-toed boots protect your hands and feet from injuries.
Preparing your workspace is also critical. Remove any unnecessary items or debris to prevent tripping hazards, secure the asphalt for stable cutting, and ensure your area is well-lit.
Finally, maintain situational awareness. Keep others at a safe distance and never operate power tools if you’re tired, distracted, or impaired.
Safety, when cutting asphalt with a circular saw, hinges on a blend of proper equipment, workspace preparation, safe handling of the tool, and awareness of your surroundings.
Choosing the Right Blade
Choosing the right blade to cut asphalt with a circular saw is a critical decision.
For asphalt cutting, diamond blades the only choice. These blades have industrial diamonds embedded in the edge of the blade’s segments, making them tough enough to cut through hard materials like asphalt without wearing out quickly.
There are two types of diamond blades: segmented and continuous rim.
- Segmented blades have a serrated edge that allows for a faster cut and better air circulation, which keeps the blade cooler. This makes them ideal for dry cutting.
- Continuous rim blades, also known as wet-cutting blades, have a smooth edge that leads to cleaner cuts. However, they need water to cool the blade, making them a less convenient option for some jobs.
Post-cutting Process
Once you have completed making your cuts, you will be able to remove the asphalt. If you are patching, you can then fill in the hole with your new material. Be sure that you use your broom to remove the debris the saw stirred up first.
If you do not own a diamond blade or circular saw, you can read my guide on the best circular saw. If you don’t plan on using it for big projects, there are some high quality mini circular saws that you can pick up.
Removing asphalt can feel like an overwhelming DIY project. However, once you start, the work goes by very quickly.
When to Cut Asphalt
There are certain DIY projects that require you to cut asphalt. If you need to repair potholes for instance, you will want to know the steps. This skill is good to know if you have an asphalt driveway at home.
If you notice cracks and splits in the pavement, you should cut out that section. Make sure that you go out much farther than needed, so the cracks do not return. Once you have done that, you can fill in the hole with a new patch of asphalt.

Fixing Cracks
In some cases, you can get away with patching small cracks without making any cuts. There are many products out there that simply need to be poured into the space. However, removing the area around the crack is better for a long term repair. You should consider tubed asphalt patching to be a temporary fix.
Here are some quick steps:
- Remove weeds and debris from the crack.
- Clean the crack with water.
- Use weed killer on the area.
- For deeper cracks, fill the hole with sand. There should be about 1/4th inch left empty at the top. Push the sand in firmly.
- Apply your patching material and allow it to cure.
- Add your sealant material.
Asphalt Overlay
An asphalt overlay consists of a new surface being placed over your existing pavement. This process is only done on deteriorating pavement that still has a strong base. It can not be completed on areas that have a damaged structural integrity.
This option can be better than removing a layer of asphalt in certain circumstances. If you need to enhance the drainage under your current asphalt, then this would not be a good choice. Still, if you don’t want to cut asphalt and can get away with overlay, it might be worth it.

Why Cut Asphalt Yourself
There are several reasons why someone might want to cut asphalt without hiring someone. However, the biggest reason is going to be money. You can save hundreds by tackling this project on your own- especially if you are clearing a small area.
Even if you need to rent a diamond blade and circular saw, doing so will cost way less than hiring a team of professionals to do the work for you.
If you have to clear a very large section of asphalt and feel you can not do the job on your own, then hiring would still be a good choice for you.