As an Amazon Associate we earn from qualifying purchases.
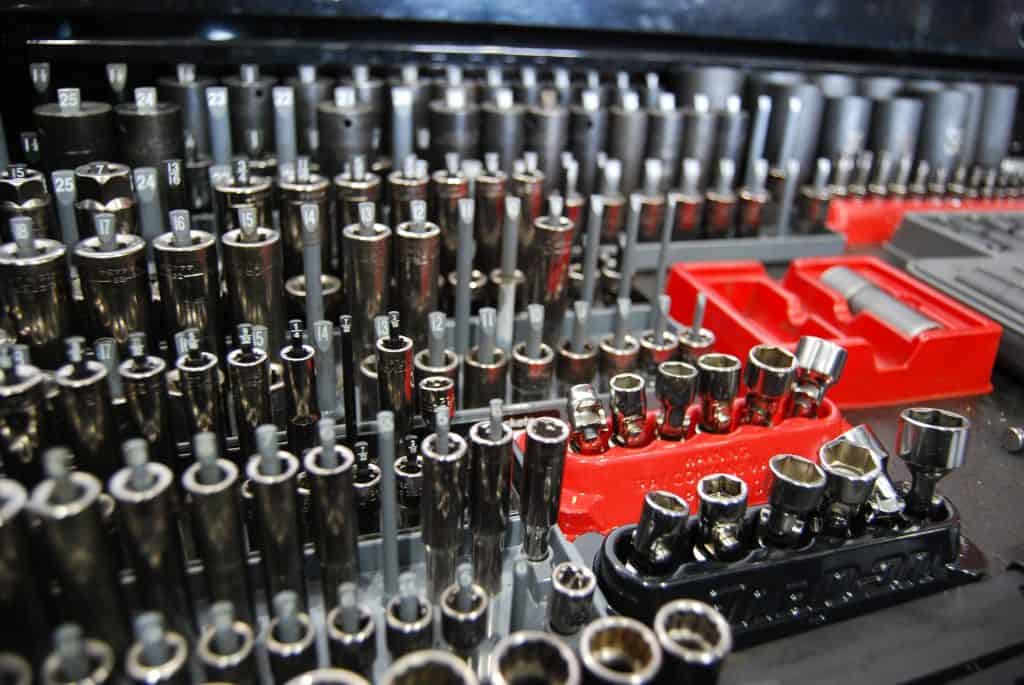
When they are not being organized, metal sockets can fall into the bottom of a tool bag or tool chest, making them impossible to find when you really need them. In order to keep your sockets organized at home you can make your own DIY socket organizer in a single day for much less that it costs to buy one at the store. That way you can save up your spare money and keep them in your piggy bank.
Contents
How to Make a DIY Socket Organizer
To create a socket holder for your workbench at home you will need a flat piece of wood. Unlike some of the best socket holders that you can buy, which are typically made from metal, I suggest using plywood or any other type of board that you already have in your garage or shop..
You can make this DIY socket holder as large or small as you need it to be, but with the difference between metric and standard sizes, the amount of socket spaces you have on hand may be quite a few.

The open design of this socket holder is meant to hold them all as well as can hold a few extras if you have them.
One of the following steps will help you measure out the area for sockets to sit so that you can equally space them to utilize as much of the board as possible.
Tools Needed
To get started on this DIY socket holder project you will need:
- Plywood 18×6
- 3/8th Inch Dowel – 4 foot long piece
- 1/4th Inch Dowel – 4 foot long piece
- Saw
- Hammer
- Ruler
- Drill Press
- Wood Glue
- (optional) Hanging Kit
- (optional) Wood Burning Kit
Getting Started
The first step in this project is to prep your main board. Trim the board down to your desired length and width with any saw you have at home.
The best tool to use is a table saw. If you don’t have one, you can pick up the best table saw for under $300, and still end up with a really good saw.
This socket holder is designed to be placed in a drawer, sit on a table top or can even be hung on the wall to save space. Where you want to place it will factor into the main boards size.
Once the board has been cut or trimmed to the right size, you can go ahead and sand down the edges or leave them natural if you don’t want them smoothed down.
Space the Sockets
You will want to use a ruler for this step to mark out the correct spacing for all of the socket sizes that you want. To give yourself a visual, you can also place each socket on the board to see the best spacing for your DIY socket organizer.
Utilizing a ruler will give you an equal spacing so that you can use as much of the space provided accurately without having weird lines or sockets that are too close together.
Keep in mind that for each socket you will be attaching a dowel, so make sure that you leave enough space between the sockets to grab as well as leave some space to mark the sizing in the following steps.
Drill the Holes
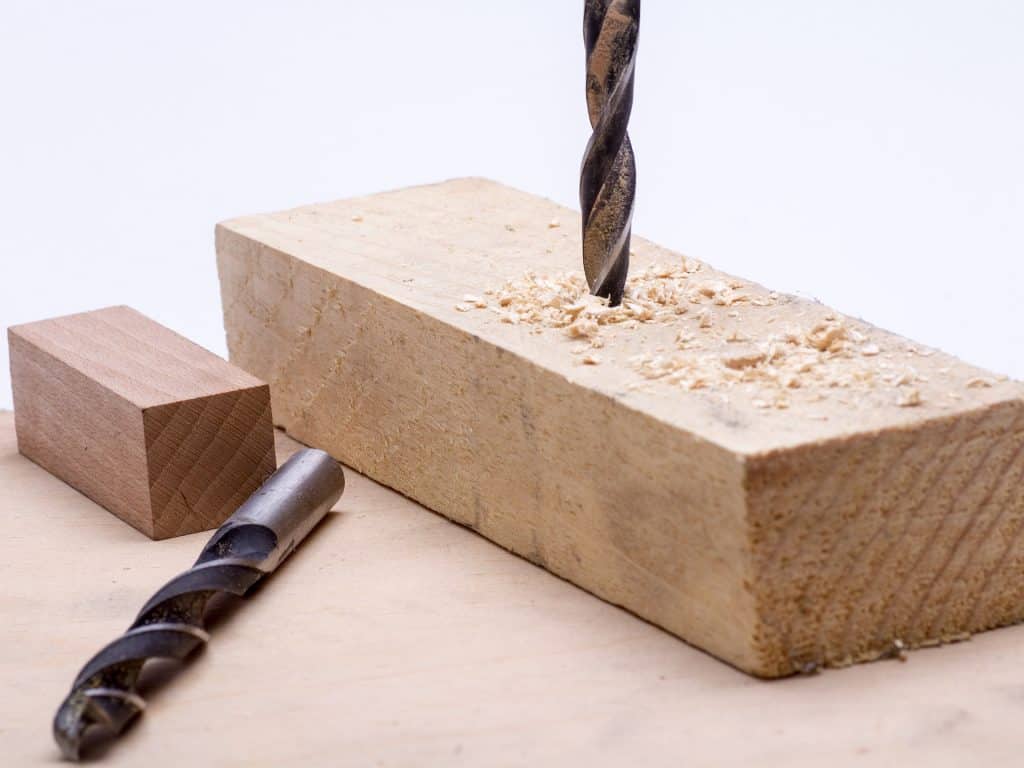
Once you have measured and marked, you are ready to start making the holes where the dowels will sit in. A drill press is the best tool to use for this project, however if you don’t have one handy then you can use cutting bits on your handheld drill to make the incisions.
To match the dowel sizing you will need to use a 3/8th and 1/4th bits on your drill press. Depending on the depth of your wood piece you can drill all the way through or leave a shallow bottom. The addition of wood glue in a later step will help hold the dowels into place.
When creating the dowel holes, you can make them level or create an angled hole by adjusting the drill press 10%. This will make the drill bits angle upwards a hair, which will help them not slid off when hung on a wall.
No sanding is needed at this point, since you will want the holes to remain the correct sizing for the dowels to fit tightly into.

Trim the Dowels
With the holes all drilled, your next step is to cut your dowels. The 4 foot dowel pole will be more than enough, you should have some left over for additional projects.
Wooden dowels work as well as the traditional metal or plastic socket rails that more stores sell. The biggest difference between the two is that some socket rails can offer a magnetic addition to help hold the sockets in place. However, the right sized dowel will give your sockets a snug fit so that you don’t need the addition of a magnet to hold them into place.
The dowels will need to be cut to 1 3/4th lengths, this is long enough to fit into the board as well as offer a long enough support to hold each socket. To help expedite and make the perfect cut each time, you may want to consider spending 5-10 minutes creating this perfect dowel cutting guide. While it is a little extra work, for those who struggle with dowel cuts, this guide will help you get the right cut every single time.
Once you have cut all of your dowels, sand down the top edges to create a smoother area for the sockets to slide down onto. Just don’t sand on the sides, since you will need the width to create a secure hold once your sockets are placed on them.
Adhere the Dowels
Once all of your dowels have been cut, the next step is to place them into the pre-drilled holes. Since you used the same size drill press for each hole, the dowels will fit snug into each space.
To secure them,you will want to place a dab of wood glue onto the end of the dowel. The wood glue, while not needed, will help your dowels stay put for a longer period of time than the simple tight fit will.
Next you will use a hammer to hit each dowel lightly into the hole. Due to the snug fit, the dowels won’t go all the way in on their own. You don’t want to pound them in like how a brad nailer does, instead just give each dowel a few light taps to get them to sink down far enough into the hole to create a sturdy rail for your sockets.
Once the dowels have been placed into the hole, use a damp cloth to wipe around each dowel. This will pick up any excess wood glue that may have found its way onto the surface or has been pushed up once the dowel went into the hole. While the wood glue won’t harm anything, getting it up will give your DIY project a more professional look.
Mark the Sizing
Now that your DIY socket organizer is complete, you will want to add in a few details to make this a more visually functional addition to your workshop. Many socket organizers do not make the sizing easy to see, which can be frustrating for the untrained eye to find the right socket without having to pick up three different ones first.
I suggest letting the glue completely dry for at least an hour or overnight to ensure that it holds. This makes sure that any potentially loose dowels don’t slide or wiggle once the weight of the socket is added.
Make sure that before you start to label the sizes that you put all of the sockets on the board. This allows you to see how much room you have and where you should begin notating your socket sizes. If you skip this step then there is potential for the sockets to overlap onto the numbers, making it difficult to read.
There are a few different ways that you can mark the numbers. First you can use a pen to write out each number. The pen marks will show up alright on the wood and should stay for awhile, but it may need to be reapplied on an annual basis depending on how much it is used and rubbed against.
Another option is to use a label maker to write each number or size. This is a good option for individuals who don’t have the best writing.

If you want, you can also decide to paint the numbers on the unfinished wood. This way, you know it can last much longer than other methods.
Finally, if you want to up your DIY game, you can use a wood burner to mark the sizing. Before you start using the wood burner, write out each size with a pencil. Using a pencil first allows you to get the numbers and spacing correct before you start burning them into the wood. This step also gives you a template to trace.
Conclusion
If you are hanging your new socket organizer then you will need to screw in a hanging kit, just make sure you have a strong enough mount to hold the weight of all of the sockets.
You could also set this board against a wall at an angle so that it is upward without being attached to the wall, this makes it easy to grab and take the organizer with you while still storing it within view.
For fitting the socket holder in a drawer, make sure that it has a snug fit inside to reduce the amount of sliding or banging around that it could take if a drawer is opened or closed quickly.
