
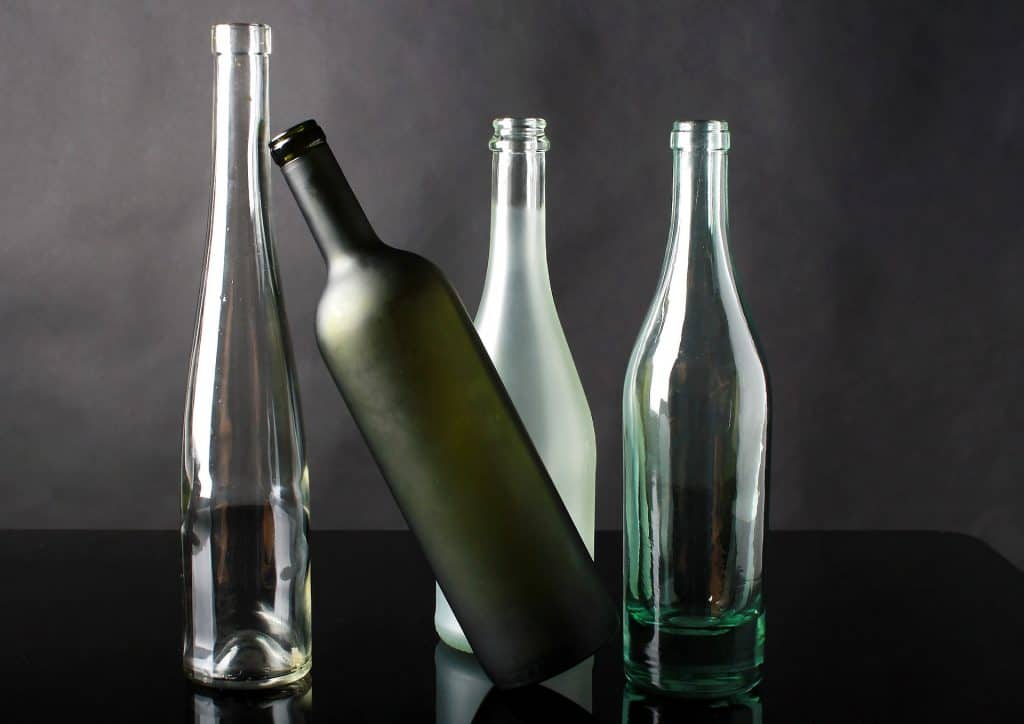
Glass bottles, such as used wine or beer bottles, can be used for a variety of DIY crafts and home goods. Cutting glass bottles, though, brings with it a whole host of complications.
If you are cutting glass bottles, a wet tile saw is the best device you can use, especially when compared to other power tools. Follow the steps below for cutting glass bottles with a tile saw, and make sure to follow all the necessary safety precautions.
Contents
Cutting Glass Bottles with a Tile Saw
In this glass cutting guide, I am going to look at how to cut off the tops of glass bottles using a tile saw. The reason I’m focusing on this element is because it is the most useful for creating both art and craft from a glass bottle.
Once the top is off of your glass bottle, you can create coasters, wine glasses, and candle holders (just to name a few).
Basics of a Wet Tile Saw

A wet tile saw is most commonly used for cutting ceramic and porcelain tile. It is fast and precise, making accurate cuts across of variety of tiles.
Tile saws are really versatile, and can be used for a variety of other cuts. In my case, I’ll use a wet tile saw to cut glass bottles. Tiles saws are not that expensive to purchase, and are relatively easy to operate.
For this project, you can use a standard inexpensive blade – it should work just fine. If you have a higher quality diamond blade, it will make the cuts faster and more accurately.
As with all power tools, be cautious when using this device. Keep your fingers away from the operating cutting wheel. Follow all of the safety requirements.
There are other ways to make radial cuts in tile and glass that don’t involve a tile saw.
Preparation for Cutting Glass Bottles
Once you get your wet tile saw up and running, it is really annoying to have to stop to collect additional supplies. Think through everything you’ll need for the project, and get it set aside before starting.
Plan Your Project
There are a plethora of ways you can use glass bottles, and planning out your project before you start cutting is essential. Here are a few of my favorite DIY glass bottle ideas:
I’ll go through the entire process of cutting a glass bottle and making bottle rings. However, as you can see, there are plenty of projects you can create that don’t even involve needing to go this far. One simple cut of a glass bottle can give you a variety of options.
Make Sure You Are Ready
Before you start cutting glass bottles with tile saw, you should put on an apron, a pair of safety glasses, protective work gloves, and some earplugs to protect your ears from the sound.
Fill your reservoir with the correct amount of water. A wet tile saw requires a constant stream of water in order to operate effectively.
Collect Your Glass Bottles
Wine bottles come in all shapes and sizes. Some are fatter and more squat, while others are tall and skinny.
All wine bottles have a bump that sits at the bottom of the bottle, on the inside. The bump is only visible if you pick up the bottle and turn it upside down. Just like bottles, these bumps (or indentions) also come in all shapes and sizes.
Generally speaking, the simpler the bottle’s design, the easier it will be for you to cut. Odd shaped bottles, or bottles with large indentions, are typically more difficult for you to cut. If this is your first time cutting glass bottles with a tile saw, I recommend picking a simple bottle to start with.
So far, I’ve only been speaking about wine bottles. And, that is because I will be using a wine bottle for this example. However, you can apply the same logic to any type of bottle you select.
Cutting the Glass Bottles
I’ll start by showing you how to cut a wine bottle lengthwise across several different methods.
Starting the Cutting Process
I’ll start my cuts by making rings out of the glass bottles.
Ensure your saw is safely plugged in on a stable working surface. Put on your safety glasses and your ear plugs, and fire up the tile saw
Slowly move the bottle towards the tile saw, holding it at a parallel angle with the table. This means that the bottle will be lying down lengthwise as you move it towards the saw.
The Cutting Process
I’ve tried holding it with two hands, and only one hand. Two hands provides more stability once the saw blade hits the bottle, but one hand sure feels a lot safer. Experiment with both and see which you prefer. Either way, it isn’t dangerous, but it just comes down to a personal preference.
As you hold the bottle, roll it towards yourself and not away from you. If a kickback happens, the bottle will roll away from your body. This is an important safety precaution. Since there are glass splinters produced during the cut, you need to wear protective work gloves.
You’ll get the hang of this process pretty quickly. The temptation might be to start moving faster through the cut – don’t give in to it. Slow and steady wins the race, and that is certainly the case when it comes to cutting glass bottles with a tile saw.
Not only does going slowly ensure you make the most accurate cuts, but it is also the safest. Similar to cutting glass tile, going slow is the best way to make sure you don’t break anything.
Ensuring Straight Cuts
Chances are, your first cut wasn’t perfectly straight. And, with all the effort you’re putting in to cut the glass bottles, you want to walk away with nice, straight rings.
One way to ensure straight cuts is by using the wet tile saw’s rip guide. Set the guide to the desired depth for your glass bottle ring, and you can repeat these cuts over and over again.
The rip guide is a vertical bar that runs across the table. Most of the saws on the market come with marks of inches and centimeters. Unscrew the knob and adjust the side of each rip guide to make sure they are the same. Then, tighten the knobs.
Rinse and Repeat Your Glass Bottle Cuts
At this point, you might not want need to continue making cuts. You have bottles that have been cut once, allowing you to make a candleholder or centerpiece, just to name a few of your options.
Now that you’ve learned how to cut glass bottles, and learned how to make straight cuts, you can follow the process to cut the entire bottle down to glass rings if you desire.

Conclusion
Glass bottles give you a variety of options for home DIY projects. And, cutting glass bottles with a tile saw is a fast, efficient, and accurate way to create your projects.
Cut the glass pieces slowly and don’t be in a hurry. Working too fast can cause a serious accident. Be careful and mindful when you are cutting.
Really nice blog!! Thanks for sharing with us.
Can a wet tile saw be used to cut a wine bottle from the top of the bottle to the bottom (split the bottle into)?
Really would recommend against this. For several reasons, its pretty dangerous.