Have you ever walked into your kitchen or bathroom and felt that something just looked…tired? Cabinets are often one of the most prominent visual features of a room.
If yours are looking worn, dated, or simply not to your taste, you don’t have to break the bank by installing brand new ones. Painting your old cabinets is an excellent (and budget-friendly) way to give them a fresh start.

Contents
1. Gather Your Materials
Before starting, ensure you have all your supplies. Having everything on hand streamlines the process and prevents frustration mid-project. Here’s what you’ll need:
- Screwdriver (for removing hardware and doors)
- Drop cloths or plastic sheeting (to protect floors and countertops)
- Painter’s tape (to protect edges and walls)
- Cleaning solution (mild detergent or a degreaser)
- Sandpaper (medium- and fine-grit, e.g., 120 and 220)
- Primer (choose one formulated for the cabinet material—wood, laminate, etc.)
- Paint (high-quality, preferably a durable finish like satin, semi-gloss, or gloss)
- Paintbrushes and/or foam rollers
- Small paint tray or roller tray
- Wood filler (optional, for filling cracks or holes)
- New hardware (optional but can greatly enhance the finished look)
- Protective topcoat (polyurethane or a clear coat suitable for cabinets, if desired)
2. Preparation and Setup

Painting cabinets is all about the prep work. Skipping or rushing through it could lead to peeling paint or a finish that doesn’t last. Follow these steps carefully:
- Clear and Protect the Space
Lay down drop cloths or plastic sheeting on floors, countertops, and any surrounding areas. This helps catch stray paint splatters and protects surfaces from dust and debris. - Remove Hardware and Cabinet Doors
Take off all knobs, handles, and hinges. Keep each door and its hardware labeled or bagged together, so re-installation is straightforward. If you’re replacing hardware, remove all the old pieces and set them aside. - Clean Thoroughly
Cabinets, especially in the kitchen, can accumulate grease and grime over time. Use a degreaser or a mixture of warm water and mild detergent to thoroughly clean every surface you’ll be painting. Rinse with a damp cloth to remove any soap residue, then let everything dry completely.

3. Sanding and Repairs
- Scuff Sand the Surface
Sand your cabinet doors and frames with medium-grit sandpaper (around 120). This doesn’t need to be an extreme sanding—you just want to roughen the surface enough for the primer to adhere well. If the cabinets are very glossy, extra sanding may be necessary to dull the shine. - Check for Damage
Inspect for dents, scratches, or holes. Use wood filler to smooth out any imperfections. Once the filler has dried, lightly sand those areas again with fine-grit sandpaper (around 220) to create a seamless surface. - Wipe Down
After sanding, wipe down all surfaces with a damp cloth or tack cloth to remove dust. Any lingering dust can ruin your paint finish.
4. Priming for a Smooth Base

Why Prime?
Primer is critical for ensuring the paint adheres well and to prevent stains or old finishes from bleeding through. Especially if you’re making a drastic color change (e.g., from dark wood to white), primer helps achieve more even coverage.
- Select the Right Primer
Use a primer formulated for your specific surface. If you’re painting wood, a high-quality bonding primer is ideal. If the cabinets are laminate or have a slick finish, look for a specialized primer that’s suitable for glossy or laminate surfaces. - Apply Evenly
Using a brush or foam roller, apply the primer in thin, even coats. Make sure to get into grooves, raised panels, or details. Let it dry fully as per the manufacturer’s instructions (usually a few hours). - Lightly Sand Again (Optional)
Some primers can leave a slightly rough finish once dried. A quick pass with fine-grit sandpaper (e.g., 220) can help ensure a smooth surface. Wipe away any residual dust.
5. Painting Your Cabinets

Choosing the Paint Finish
A high-quality paint with a durable finish is essential for cabinets because they endure heavy use and frequent cleaning. Satin or semi-gloss is the most common choice for its balance of sheen and easy maintenance.
- First Coat
Using a new (or thoroughly cleaned) brush or foam roller, apply the paint in light, even strokes. Avoid overloading your brush or roller to prevent drips. Move from top to bottom on doors and frames to maintain a consistent finish. - Drying Time
Let the first coat dry completely. Drying times vary, but typically you should allow at least 4–6 hours for water-based paints (longer in cooler or more humid conditions). - Second Coat
Apply a second coat, ensuring all areas are evenly covered. You might need a third coat if you’re painting over a very dark base color or if you’re using a particularly light shade. - Optional: Protective Clear Coat
Cabinets endure daily opening and closing, spills, and cleaning. Applying a clear polyurethane or water-based clear coat can extend the life of your new paint job and make the surfaces more resistant to scratches and chips. Follow the drying and curing times indicated on the product’s label.

6. Reassembly and Finishing Touches
- Reinstall the Doors
Once you’re sure the paint is completely dry (usually wait 24 hours, though some paints recommend even longer for full curing), you can start putting the doors and drawers back in place. Reattach hinges and hardware carefully to avoid scratching the new finish. - Add or Upgrade Hardware
If you purchased new knobs or pulls, now’s the time to install them. Updated hardware can instantly modernize the look of your newly painted cabinets. - Final Inspection
Check the painted surfaces in good lighting to ensure you haven’t missed any spots. If you find thin areas or minor drips, gently sand them out and touch up with a small brush.

7. Maintenance Tips
- Gentle Cleaning: When cleaning your new cabinet surfaces, use a soft, damp cloth or sponge with mild soap. Avoid abrasive scrubbers that can damage the paint.
- Handle with Care: Keep an eye on high-traffic areas (like around knobs or pulls). If you spot any chips, use matching paint for quick touch-ups.
- Allow Adequate Curing Time: Even though the cabinets may feel dry to the touch after a day, it can take up to two weeks for the paint to fully cure. Try to be extra gentle during this period.
Conclusion
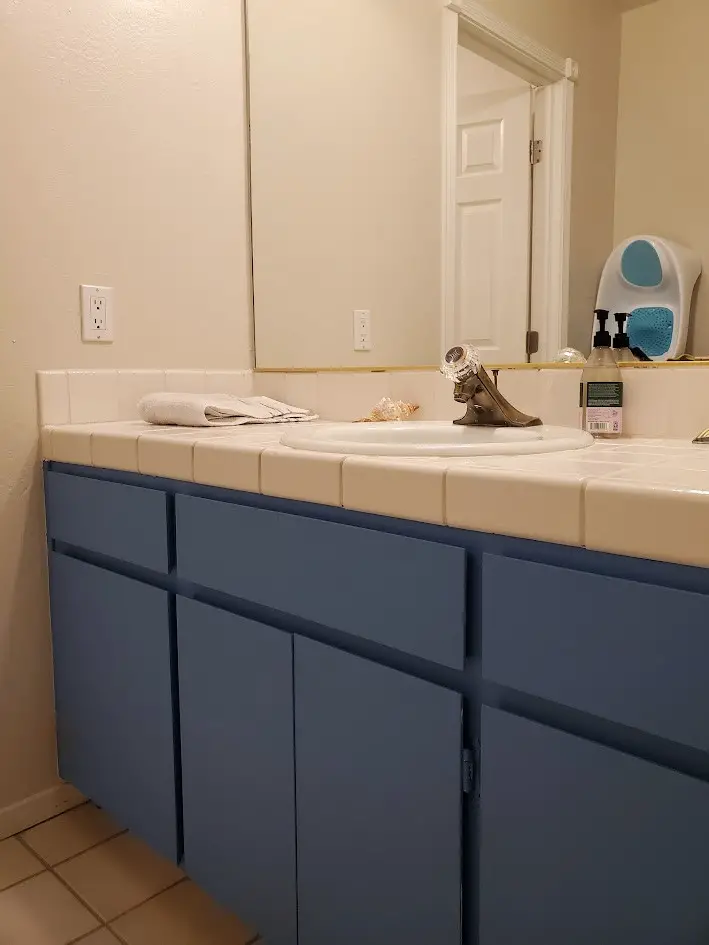
Before:

After:

Painting your old cabinets is a cost-effective, straightforward way to revamp your living space. With proper preparation, a little patience, and the right materials, you can completely transform dated or worn cabinets into a clean, fresh, and modern focal point. Whether you choose a bright pop of color or stick to timeless neutrals, the result will be a set of cabinets that look like you spent a fortune—without actually doing so.
Now it’s your turn: gather your materials, pick your perfect paint color, and give your old cabinets the revival they deserve! With a little time and effort, you’ll be enjoying your “new” cabinets for years to come.