
As you complete the construction of your shed project, you will want to finish with the roof truss structure. Trusses are used to support the actual walls of your shed. They keep the walls from bending and shifting. This added support is essential to the design of your shed as it keeps the integrity of the building during its use.
Learning how to build roof trusses for a shed can easily be completed by following these step-by-step instructions. When you are ready to finish the construction of your shed, set some time aside to build the roof trusses. Then, get started with these easy steps below.
Contents
What is a Roof Trusse?
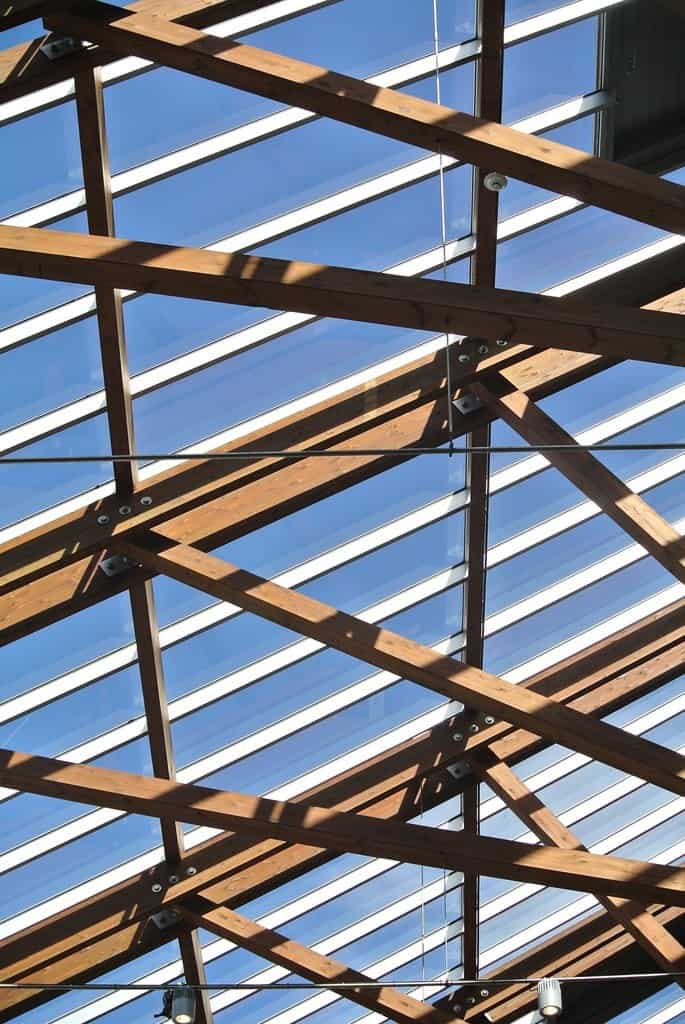
A roof truss is a structural framework of timbers designed to bridge the space above a room and to provide support for a roof.
The benefit of a truss, over older structural designs like coupled rafters, is that it provides longitudinal support. In essence, a roof built on trusses is much more structurally sound.
You want to ensure that your shed utilizes roof trusses, so that it is safe and durable.

Materials and Tools Needed
Its important that you gather the right materials and tools for this job. Precision is key so that your roof stands up over time.
Materials
- 2×4 lumber pieces
- 1×3 lumber pieces
- 1/2″ plywood sheets
- Wood Nails
- Wood Glue
- Metal Angle Brackets
Tools
- Portable Table Saw or Chop Saw
- Jigsaw
- Framing Hammer
- Level Tool or Laser Level
How to Build Roof Trusses for Your Shed
I’ve put together a 7 step process for you to put together roof trusses so that you can build out your shed.
Step 1: Configure the Roof Slope
The process of learning how to build roof trusses for a shed includes some foresight and accurate measurements.
For starters, the size of your roof will be a function of how large of a shed foundation you built. Next, consider the actual design of your trusses by taking into account the slope of your roof.
For roofs that have a larger slope, one side of the truss will be longer than the other. Equal roof slopes incorporate rafters with the same dimensions on each side.
Take some time to decide how you want the roof to function. Then, measure the slope to find the exact dimensions of the rafters for the trusses.
Decide on how many trusses will be needed to support the roof and double this number to give you enough rafter pieces to complete the truss construction.
Step 2: Cut and Plumb the Rafters
Next, use your rafter measurements to begin cutting the necessary lengths needed. These will be cut from 2×4 wood pieces.
Make sure you have two rafter lengths for each truss you expect to make. Cut a plumbed edge (45-degree angle cut) in each rafter piece.
The plumbed edge will allow the rafter pieces to seamlessly fit together to form each truss shape. This will help as you build rafters for a shed that are properly cut and fitted.
It is easiest to use a high quality portable table saw to make these cuts, although you could use a chop saw if you’re cut accurately.
Step 3: Create a Bottom Chord
While you have established the angle of the trusses with your rafter pieces and cut them in the necessary lengths, they still need more support to finish the structure.
This is where you will make a bottom chord. It will attach to the bottom of each end of the rafters with a straight length of wood.
Use 2×4 wood and plumb the edges for a strong and sturdy fit. Cut one bottom chord for each truss you intend to complete. You can probably also use a good jig saw for these cuts if you have one.
You also might prefer picking up one of the best cordless jigsaws for this type of job.

Step 4: Construct the Gussets
Gussets are necessary to cover the joints of each end of the rafters. You use the gussets to support and connect your trusses to the shed.
These gussets are cut from ½” plywood. They are attached to the top ends as well as the bottom edges of each truss. Be sure to cut six of these triangular-shaped gussets for each truss structure.
They should be long enough to attach over the joints of each rafter edge and the bottom chord you have cut.
Step 5: Assemble the Shed Trusses
Now, assembly of your roof trusses can finally begin. The best way to assemble the trusses is to lay each rafter and bottom chord on the ground in the desired shape.
Take two rafters and connect the peak at the plumbed corner you created. Do this by nailing the triangular gusses to the rafters. This should allow the rafter pieces to fit together snuggly and create a solid support structure.
This job will go a lot faster if you have one of the best framing nailers available. A cheaper one jams more frequently, stopping your progress.
Add your bottom chord piece to the open end of the rafters, so it is flush. You will have created a triangle shape that will form your truss structure.
Step 6: Complete your Roof Truss Assembly
Create a series of 1×3 wood pieces that will be used as stop blocks. These pieces of wood are used to prevent slipping of the rafter off your shed foundation as you assemble your trusses to the shed’s roof. They won’t stay and be a permanent part of the shed.
Nail a stop block into the end of your 2×4 wood rafter, at each end. You can also add a stop block or two on the bottom of your constructed bottom chord as well. Both of the stop blocks are designed to give you added stability as you place the trusses on the top of your shed.
Now you can firmly glue and nail the gussets to each corner of the truss assembly. Add a gusset at each corner of the truss and on each side. Allow the glue to dry and nail in place for added security.
Reference my diagram above for added clarity.

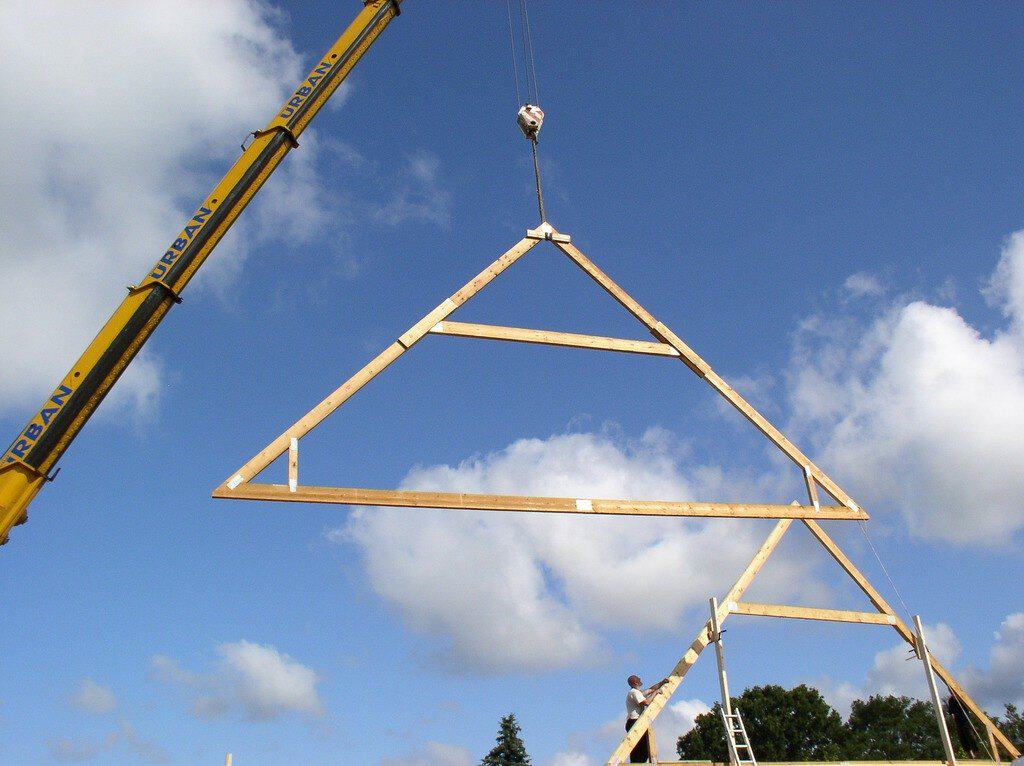
Step 7: Attach Each Truss to Your Shed
Get ready to add the trusses to your shed’s roof by moving each truss upside down to the top of your shed’s foundation. This will make it easier to set them in place and brace them before nailing.
It is necessary to have some helping hands to position the trusses on the shed’s roof. This can be an awkward process as the trusses are heavy to lift.
Be sure you have the help you need before you begin lifting the trusses into place and bracing them as necessary. Depending on how large your shed is, you could need 2-3 additional people to help you.

- With your help, rotate the shed trusses 180 degrees so that they are in the upright position, pointed part facing skyward.
- Use a level to ensure each truss is in the correct position. You need to use the level to make sure that each truss is perpendicular with the ground, or 90 degrees.
- Attach the truss firmly to your shed. They need to be secure for permanent use. Nail in place to attach the trusses to the foundation of your shed and to keep them in place for the addition of your roof.
It also helps to add metal angle brackets at the bearing points, where your trusses meet your shed. This will give you added stability.
Conclusion
By following these easy step-by-step instructions on how to build roof trusses for a shed, you’ll be able to complete the support structure of your shed.
Building roof trusses helps to ensure your shed is built for safety and stability. Roof trusses, along with a good shed design and a solid foundation, provide an excellent roof base.
With these instructions, you’ll soon be on your way to finishing your shed’s full construction. Be sure you know what to do next, whether it’s flooring, finishing up the exterior, or adding customized vinyl siding to your shed.